If your portable power station is not charging from solar, the cause is usually simple: wrong port, wrong voltage, weak sun, or a bad cable. Working through those in order will fix most solar charging problems without tools or guesswork.
Solar charging behaves very differently from plugging into the wall. A solar generator or battery pack may show only a few watts of input, or none at all, even when the panel looks bright in the sun. This guide explains how solar charging is supposed to work, what “normal” looks like, and how to spot when something is actually wrong.
Use this checklist with your manuals nearby, but without opening devices or modifying wiring. If you see melted plastic, scorch marks, or smell burning, stop using the equipment and have it inspected by a qualified technician before trying again.
What “Not Charging From Solar” Really Means and Why It Matters
When a portable power station will not charge from solar, it usually falls into one of three categories:
- Truly no charging: The display shows 0 W input, no charging icon, and the battery percentage never rises.
- Very slow charging: A few watts of input are present, but the percentage barely moves over several hours.
- Intermittent charging: Input appears, then drops to zero repeatedly as conditions or connections change.
Distinguishing between these helps you decide whether you have a compatibility issue, an environmental issue (sun, shade, heat), or a hardware fault.
This matters because solar is often your backup power source for camping, RVs, off‑grid work, or outages. If solar charging is unreliable, you may arrive at a campsite with an empty battery or lose power for critical devices sooner than expected. A clear understanding of how solar input should behave lets you plan realistic runtimes and avoid damaging your equipment by forcing incompatible panel setups.
In the sections below, you will see how to interpret your display, what typical solar performance looks like, and which simple checks resolve most “solar not charging” complaints in a few minutes.
Key Concepts: How Portable Power Stations Charge From Solar
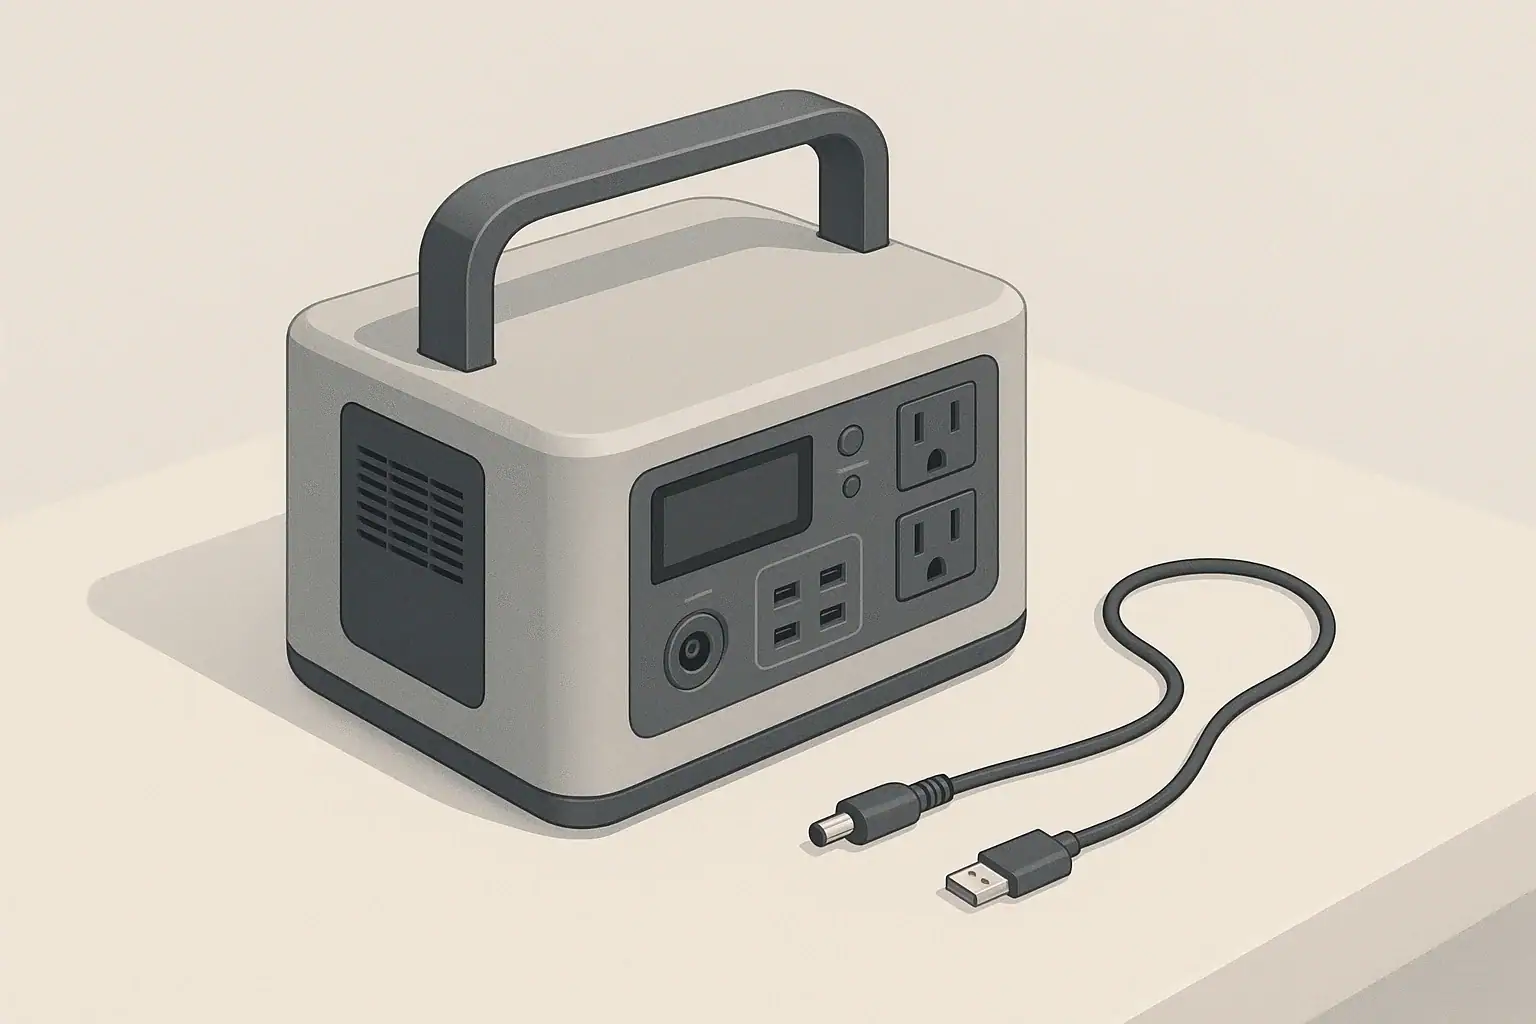
Before troubleshooting, it helps to understand the basic pieces involved when you plug a solar panel into a portable power station.
- Solar panel: Produces DC voltage and current when exposed to light. Its label (for example, 100 W, 18 V) describes ideal conditions, not everyday output.
- Cables and adapters: Carry power from the panel to the power station’s DC input. Different connector types often require adapters.
- Charge controller (inside the power station): Takes the panel’s DC power and safely charges the internal battery.
- Battery management system (BMS): Protects the battery from overcharge, over‑discharge, and temperature extremes.
For solar charging to start, three basic conditions must be met:
- The panel voltage must be within the power station’s allowed DC input range.
- The cables and connectors must be correctly wired and firmly connected.
- The power station must be willing to accept charge (battery not full, temperature in range, DC input enabled).
Many “dead” solar setups are actually working, just slower than expected. Solar panels rarely deliver their nameplate wattage. For example, a 100 W panel might only deliver 40–70 W in clear midday sun and much less in clouds or haze.
That slow, variable behavior is why it is important to look at input watts and energy over time, not just the battery percentage. The table below shows how long realistic solar input might take to recharge a typical portable power station.
| Panel label size | Typical real input to station | Approx. hours to add 400 Wh | What this feels like in use |
|---|---|---|---|
| 60 W folding panel | 25–40 W | 10–16 hours of good sun | Looks very slow; % barely moves in a short afternoon |
| 100 W portable panel | 40–70 W | 6–10 hours of good sun | Useful for topping up over a full day outside |
| 200 W array | 90–140 W | 3–5 hours of good sun | Feels closer to wall‑charger speed in midday sun |
| Panel in light cloud or haze | 10–30 W (any size) | Long, often multi‑day charge | Often mistaken for “not charging at all” |
Real‑World Examples: Is It Really Not Charging or Just Slow?
These scenarios show how to interpret what you see on the display and at the panel.
Example 1: Zero watts, no icon, sunny day
- Display shows 0 W input and no charging symbol.
- Battery percentage does not increase over several hours.
- Wall charging works normally.
This pattern usually points to a connection or compatibility problem: wrong port, wrong adapter, reversed polarity, or panel voltage outside the allowed range. Try a different cable or adapter, confirm you are in the labeled DC input port, and check that the panel’s rated voltage matches the station’s input spec.
Example 2: 10–20 W input from a 100 W panel
- Display shows 10–20 W “in,” with the charging icon on.
- Battery percentage climbs only a few percent over an afternoon.
- Moving the panel changes the wattage noticeably.
Here, the system is charging, but the panel is not in strong, direct sun. Common causes include partial shade from trees, low winter sun, or the panel lying flat when the sun is low in the sky. Adjust the angle so the panel faces the sun more directly and move it away from any shadows.
Example 3: Solar works at 50%, stops at 98–100%
- At 50% battery, the display shows healthy input watts.
- Near 100%, input drops to very low wattage or zero.
- Wall charging behaves the same way.
This is normal battery behavior. Most power stations reduce charge rate near full and may stop entirely to protect the battery. If you are testing solar, discharge the battery down to around 60–80% and then reconnect the panel to see whether charging resumes.
Example 4: Input appears, then drops to zero repeatedly
- Solar input jumps up when you plug in the panel.
- After a few seconds or minutes, it falls back to zero.
- This repeats when you unplug and reconnect.
This often indicates a borderline condition: panel voltage just outside the accepted range, an external controller misconfigured, or an overheating issue. Try a simpler panel configuration (one panel instead of several in series), move the power station into the shade with good airflow, and avoid using extra controllers unless the manual specifically calls for them.
Common Mistakes and a Step‑By‑Step Troubleshooting Checklist
Most portable power station solar problems can be found by walking through a simple sequence. The list below highlights frequent mistakes and how to diagnose them.
Step 1: Confirm the basics
- Check wall charging first: If the station will not charge from the wall either, the issue is likely internal. Stop troubleshooting solar and contact support.
- Make sure the battery is not full: If the display shows 100%, discharge a bit and retest.
- Look for any solar icon or input watts: Even a small non‑zero value means solar is working, just slowly.
Step 2: Verify ports and cables
- Use the dedicated DC input for solar, not a DC output port or USB port.
- Confirm your adapter matches the station’s input size and polarity.
- Push connectors fully until they click or feel firmly seated.
- Inspect cables for cuts, crushed sections, or bent pins; replace anything suspect.
Step 3: Check panel compatibility
- Compare the panel’s rated voltage to the power station’s DC input range printed near the port or in the manual.
- A panel or series string that exceeds the maximum input voltage may cause the station to refuse charging.
- Very small or under‑sized panels may never reach the minimum voltage needed to start charging, especially in weak sun.
Step 4: Evaluate sun and positioning
- Place the panel in direct, unobstructed sunlight, away from buildings, trees, or roof racks.
- Angle the panel so it faces the sun; if you see a strong shadow of the panel itself, adjust until the shadow is shortest.
- Avoid placing panels behind glass, such as inside a vehicle window, which can cut output dramatically.
Step 5: Review settings and operating state
- Ensure DC input or solar charging is enabled in the menu if your model has that option.
- Disable or adjust any eco mode that might shut down inputs at low power.
- Check for error codes or warning icons related to DC input, overvoltage, or temperature.
Step 6: Rule out faulty hardware
- Try a different known‑good panel or cable if available.
- If multiple panels and cables all fail to register input, suspect the power station’s DC input circuitry.
- If one panel fails on multiple devices, suspect the panel itself.
| Symptom | Likely cause | First thing to try |
|---|---|---|
| 0 W input, sunny day | Wrong port or bad adapter | Move plug to labeled DC input and reseat all connectors |
| Input appears, then drops | Overvoltage or overheating | Simplify panel wiring and move station to shade with airflow |
| Very low watts from a large panel | Partial shade or poor angle | Relocate panel to open sun and tilt toward the sun |
| Solar and wall both fail | Internal charger or BMS fault | Stop using the unit and contact support |
| Works at mid‑charge, not at 100% | Normal full‑battery behavior | Discharge to ~70–80% and retest solar input |
| Panel feels hot, no output | Panel or junction box failure | Test with another device or panel; replace if needed |
Solar Charging Safety Basics
Portable power stations and folding solar panels are designed for everyday users, but they still involve high energy and potentially hazardous voltages. A few habits go a long way toward safe operation.
Safe placement of the power station
- Keep the unit on a stable, dry surface away from puddles, wet grass, or snow.
- Leave several inches of space around cooling vents so fans can move air freely.
- Avoid direct sunlight on the power station itself; heat builds up quickly in dark cases.
Panel and cable safety
- Secure panels so wind cannot flip or drag them, which can strain cables and connectors.
- Route cables where people will not trip over them; avoid door gaps and sharp edges that can crush insulation.
- Do not touch bare metal contacts while panels are in strong sun; they can carry significant voltage.
Electrical and fire risk reduction
- Use only cables and adapters rated for the expected current and voltage.
- Disconnect panels if you see melted plastic, scorch marks, or smoke.
- Do not open the power station case or attempt internal repairs; the battery pack can deliver very high current if shorted.
- Do not attempt to backfeed a home electrical panel from a portable power station unless a licensed electrician has installed proper transfer equipment.
Maintenance and Long‑Term Use for Reliable Solar Charging
Even when everything is wired correctly, long‑term wear and environmental exposure can slowly reduce solar performance. Simple maintenance keeps your setup working closer to its original capability.
Panel care
- Cleaning: Wipe dust, pollen, and bird droppings from panel surfaces with a soft cloth when they are cool. Avoid abrasive cleaners that can scratch the surface.
- Storage: Fold portable panels and store them in a dry place when not in use. Do not leave fabric‑backed panels permanently outdoors.
- Inspection: Periodically check for delamination, water intrusion around the junction box, or cracked cells.
Cable and connector care
- Inspect connectors for corrosion, bent pins, or loose locking tabs.
- Coil cables loosely; avoid tight bends and repeated kinks in the same spot.
- Keep connectors off the ground where they might sit in water or mud.
Power station storage and battery health
- Store the power station in a cool, dry location, away from direct sun and extreme temperatures.
- If storing for months, keep the battery around 30–60% charge and top it up every few months as recommended in the manual.
- Avoid leaving the battery at 0% or 100% for long periods, which can shorten its lifespan.
Seasonal expectations
- In winter, the sun is lower and days are shorter; plan on less daily energy from the same panels.
- In hot climates, high temperatures can reduce panel output and may trigger temperature limits inside the power station.
- Adjust your panel angle seasonally if you use a semi‑permanent setup, and be prepared for slower charging in poor weather.
Practical Takeaways and Specs to Look For
Once your solar charging is working reliably, you can plan upgrades or new purchases more confidently. Focus on matching your panel setup to your power station’s capabilities and your actual energy needs.
Key practical takeaways
- If wall charging works but solar shows 0 W, start with ports, cables, and panel voltage.
- If some watts are showing but charging feels slow, focus on panel angle, shade, and realistic expectations.
- Intermittent input often points to borderline voltage, overheating, or a failing panel or cable.
- Never exceed the power station’s maximum input voltage, and avoid unnecessary external controllers unless the manual calls for them.
Specs to look for when pairing panels and power stations
- DC input voltage range: Ensure your panel or panel array’s operating voltage stays comfortably within this range in real sun, not just on the label.
- Maximum solar input watts: There is no benefit to vastly exceeding this value; extra panel capacity will simply be capped.
- Recommended panel size: Check the manual’s suggested wattage range for optimal performance and use it as a target.
- Connector type and polarity: Confirm whether you need specific barrel sizes, Anderson‑style connectors, or other adapters, and that polarity matches.
- Display detail: A clear readout of input watts and error codes makes troubleshooting much easier.
- Operating temperature range: Look at the allowed charging temperatures so you can plan shade or insulation in extreme climates.
- Battery capacity (Wh): Compare this to the realistic daily energy your panels can deliver so you know how long a full recharge will take.
By understanding how solar charging is supposed to work and by checking ports, cables, panel specs, and conditions in a structured way, you can usually resolve a “portable power station solar not charging” issue without special tools, while keeping both your battery and your panels in good condition for the long term.
Frequently asked questions
What specifications and features matter when pairing a solar panel with a portable power station?
Check the power station’s DC input voltage range, maximum solar input watts, connector type and polarity, and the manual’s recommended panel wattage. A clear input-watt display and documented operating temperature limits also help ensure compatibility and predictable charging performance.
How can using the wrong cable or adapter prevent charging?
Incorrect cables, adapters, or using an output port instead of the dedicated DC input can prevent current flow or present wrong polarity so the station refuses to accept power. Inspect connectors for proper fit, correct wiring, and physical damage; testing with a known-good cable often isolates the problem.
Why does my station show input watts but the battery percentage barely rises?
Panels commonly produce far less than their nameplate wattage in real conditions, and power stations slow charging as the battery approaches full, so percent can change slowly. Look at input watts and cumulative energy (Wh) over time—small steady input still adds useful charge even if the percentage moves slowly.
What should I do if I see smoke or melted plastic around the panel or connectors?
Immediately stop using the equipment and disconnect panels; do not reconnect or attempt internal repairs. Have a qualified technician inspect and repair any heat-damaged parts before further use, since smoke or melted plastic indicate an electrical or fire hazard.
Can angle, shade, or temperature make my setup appear to not charge from solar?
Yes. Panel angle, partial shading, cloud cover, and high temperatures can reduce voltage and current so much that the station shows little or no input. Reposition and tilt panels for direct sun, avoid obstructions and glass, and be aware that seasonal and ambient conditions affect realistic charging rates.
Related guides
Browse this topic →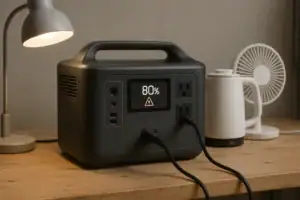
- Beginner-friendly sizing, runtime & specs
- Solar & charging (MPPT, fast charging, cables)
- Batteries (LiFePO4, cycles, care & storage)
- Safety, cold-weather performance, real-world tips
More in FAQ
See all →Keep reading

About this site
Portable Energy Lab publishes practical, independent guides about portable power—clear sizing, safe use, and real-world expectations.
Affiliate disclosure
Some links on this site may be affiliate links. If you buy through these links, we may earn a small commission at no extra cost to you. This helps support our content. Learn more.