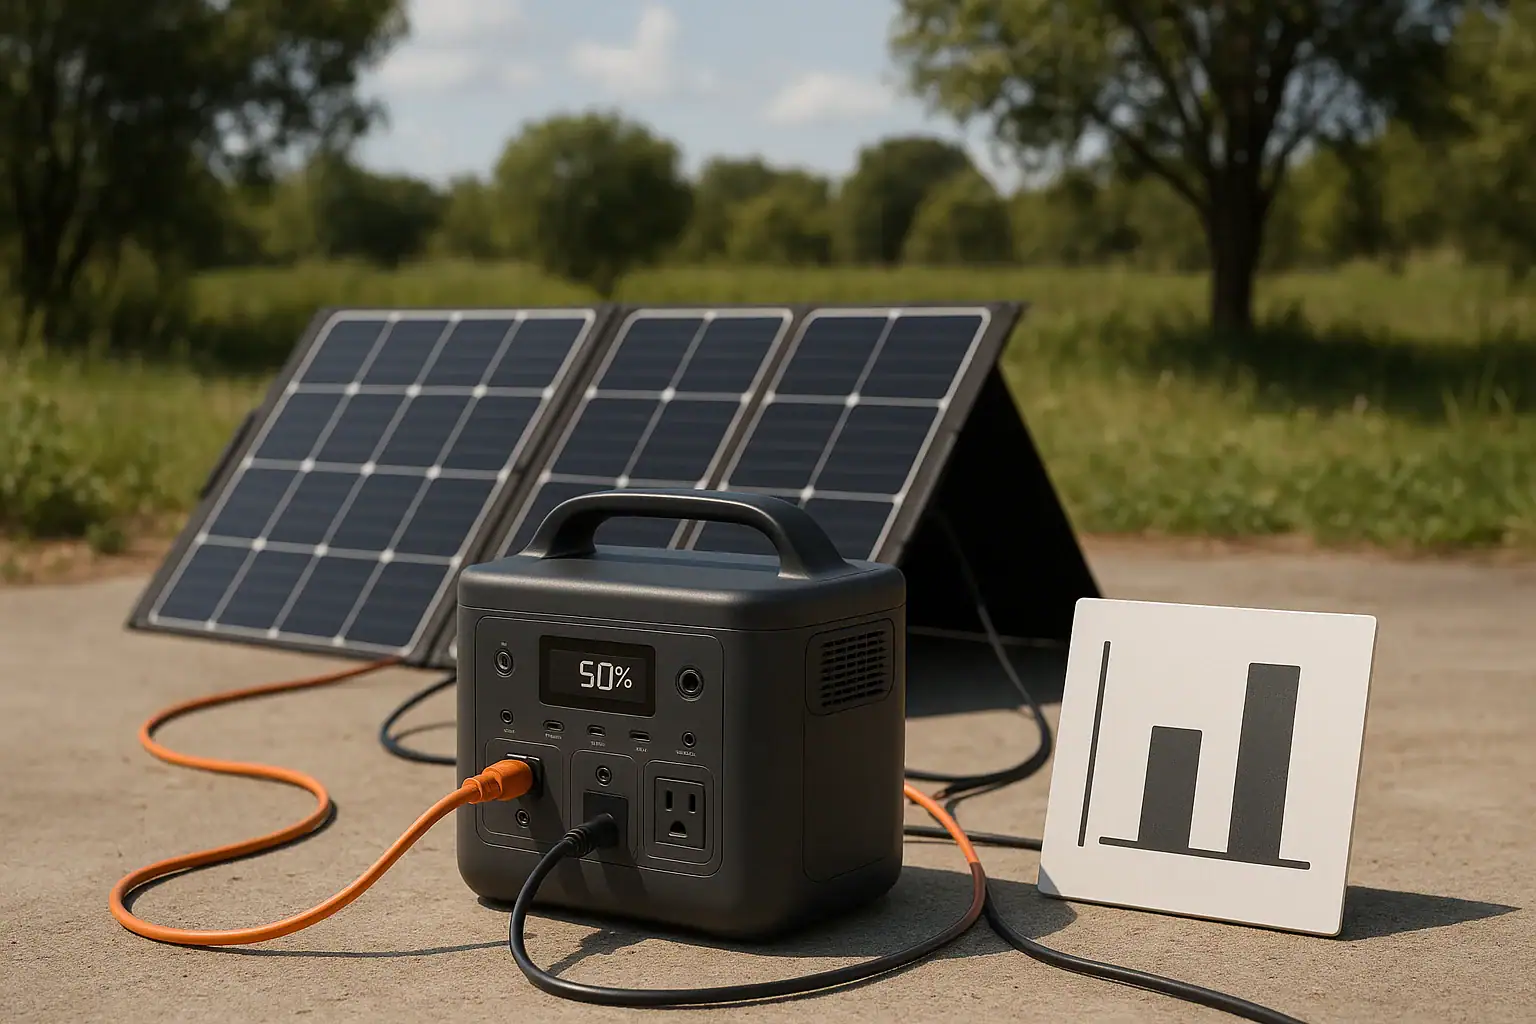
Choose a solar extension cable gauge by matching the cable to the solar panel current, total cable length, connector rating, and the portable power station solar input limit.
For most portable solar setups, thicker cable is needed when the run is longer, the amperage is higher, or the power station uses a lower PV input voltage. The goal is to keep voltage drop low so the power station receives enough charging voltage and current without overheating the cable or connectors.
The right size depends on practical details: solar input amps, open-circuit voltage, extension length, MC4-style connector limits, charge controller behavior, and expected charging wattage. A cable that works for a short 100-watt panel arrangement may be inefficient or unsafe for a longer 400-watt solar array. The sections below explain how to think through gauge selection without relying on brand-specific charts.
What Solar Extension Cable Gauge Means and Why It Matters
Solar extension cable gauge is the physical size of the wire used between solar panels and a portable power station or solar adapter cable. In the United States, it is usually shown as AWG, or American Wire Gauge. A smaller AWG number means a thicker wire. For example, 10 AWG is thicker than 12 AWG, and 12 AWG is thicker than 14 AWG.
Gauge matters because solar power is delivered as DC electricity. DC wiring losses increase with current and distance. If the cable is too thin for the current or too long for the setup, some of the solar energy turns into heat inside the wire instead of reaching the power station. That can reduce charging watts, make charging unstable in weak sun, and place extra stress on connectors.
The main performance issue is voltage drop. A small amount of voltage drop is normal, but too much can keep the portable power station below the voltage it needs to charge efficiently. This is especially noticeable with lower-voltage panels, long extension runs, and high-current parallel panel setups.
Good gauge selection is not about choosing the thickest cable every time. Very thick cable can be heavy, expensive, and harder to coil or connect. The practical target is a cable that carries the expected current over the required distance with reasonable voltage drop and a comfortable safety margin.
How Cable Gauge, Amps, Voltage, and Distance Work Together
Four factors determine the right solar extension cable gauge: current, voltage, one-way distance, and acceptable voltage drop. Current is the amount of amperage flowing through the cable. Voltage is the electrical pressure coming from the solar panel or array. Distance is the cable length between the solar panel output and the power station input, counted as the one-way extension length for buying cable, but electrically the current travels out and back through positive and negative conductors.
Higher current needs thicker wire. A 10-amp solar setup places more demand on a cable than a 5-amp setup. This is why parallel panel connections can require larger wire than series connections. Parallel wiring increases current while keeping voltage similar. Series wiring increases voltage while current stays closer to one panel’s current.
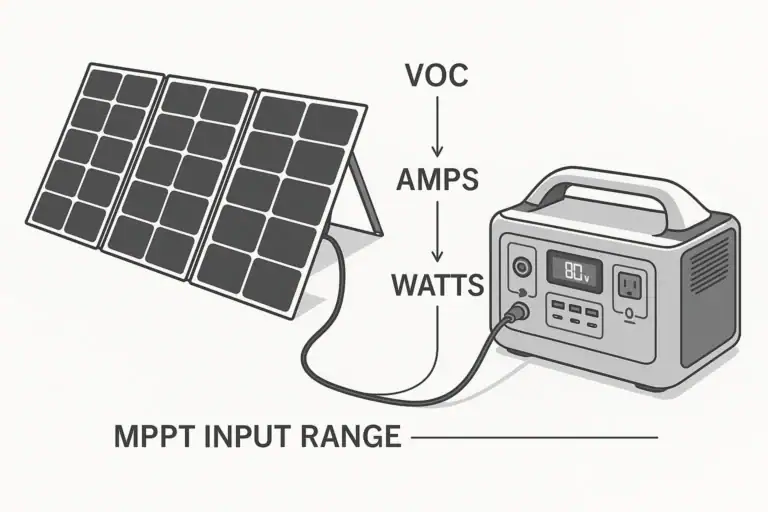
Higher voltage can reduce current for the same wattage. For example, a 200-watt solar input at about 20 volts may require around 10 amps, while 200 watts at about 40 volts may require around 5 amps. Lower current generally means less voltage drop and less heating for the same cable length. However, the portable power station must support the solar array voltage range, including open-circuit voltage in cold weather.
Distance matters because every foot adds resistance. A 10-foot extension may work well with a smaller gauge, while a 50-foot extension often needs a thicker cable to maintain similar charging performance. If your charging watts look much lower after adding an extension cable, voltage drop is one of the first things to suspect.
A useful target for many portable solar setups is to keep voltage drop around 3 percent or less when practical. Some casual low-power uses may tolerate more, but higher losses mean slower charging and more wasted energy. For sensitive or high-wattage setups, lower voltage drop is better.
| Typical one-way extension length | Lower-current setup example | Higher-current setup example | Practical gauge direction |
|---|---|---|---|
| 10 to 15 feet | 100 to 200 watts at about 5 to 8 amps | 200 to 300 watts at about 10 to 15 amps | 12 to 14 AWG may be adequate for lower current; 10 to 12 AWG is often better for higher current |
| 25 feet | 100 to 200 watts at about 5 to 8 amps | 300 to 500 watts at about 12 to 20 amps | 10 to 12 AWG is commonly considered; use thicker cable as current rises |
| 50 feet | 200 to 400 watts at higher voltage and lower amps | Parallel arrays above about 15 amps | 10 AWG or thicker may be needed to reduce voltage drop |
Real-World Examples for Portable Power Station Solar Cables
Consider a compact 100-watt panel connected with a 15-foot extension. If the panel operates near 18 volts and 5 to 6 amps, the current is modest. A 12 AWG extension is often a practical choice, and 14 AWG may work for short runs if the cable and connectors are properly rated. The difference in charging speed may be small in bright sun, but a thicker cable gives more margin.
Now consider two 100-watt panels in parallel with the same 15-foot extension. The voltage remains similar, but current roughly doubles. A cable that was acceptable for one panel may cause more voltage drop with two panels. In this situation, moving from 14 AWG to 12 AWG, or from 12 AWG to 10 AWG for longer runs, can help maintain charging performance.
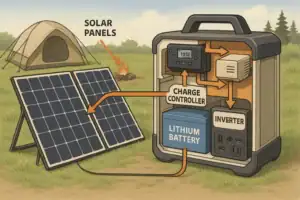
A different case is two panels in series. The voltage increases while current stays closer to one panel’s current. This can reduce cable loss, but only if the portable power station solar input voltage range can accept the array’s open-circuit voltage. Series wiring is not automatically better; it must match the power station’s solar input specs.
For a larger 400-watt portable array placed 25 to 50 feet away from a shaded campsite, cable choice becomes more important. At lower voltage and higher current, 10 AWG may be more appropriate than 12 AWG. At higher-voltage series configurations within the power station’s input range, the same wattage may move through the cable at fewer amps, reducing losses.
In all cases, the weakest point matters. A thick extension cable will not help if the short adapter cable, connector, splitter, or input port has a lower current rating. Solar extension planning should include the entire path from panel to power station, not just the longest cable.
Common Mistakes and Troubleshooting Cues
One common mistake is choosing cable based only on solar panel wattage. Wattage is useful, but cable heating and voltage drop are driven mainly by current and distance. A 200-watt setup can have very different cable needs depending on whether it operates near 20 volts or 40 volts.
Another mistake is using an extension cable that is convenient but too thin. General-purpose low-voltage cable, damaged cable, or unknown wire may not be suitable for outdoor solar use. Solar cable should be rated for outdoor exposure, flexible enough for portable use, and matched to the expected current.
A third mistake is ignoring connector ratings. Many portable solar systems use detachable DC connectors or solar-style connectors. Even if the wire gauge is large enough, connectors can become a bottleneck if they are undersized, poorly crimped, loose, dirty, or not fully seated.
Troubleshooting usually starts with symptoms. If charging wattage drops sharply after adding an extension, the cable may be too long, too thin, or poorly connected. If charging starts and stops as clouds pass, voltage at the power station input may be falling below the charge controller’s working range. If a connector feels hot to the touch in normal sun, stop using the setup and inspect the cable path at a high level without opening devices or bypassing protections.
Also check panel placement before blaming the cable. Shade on one panel, poor angle, dirty glass, or a panel behind a window can reduce output more than cable loss. A cable problem is more likely when the same panels perform much better with a shorter cable under similar sun.
Safety Basics for Solar Extension Cables
Solar DC power can be hazardous when current is high, connections are poor, or cables are damaged. Portable power station solar systems are usually simpler than fixed home solar systems, but they still require care. Do not modify battery packs, bypass input protections, force incompatible connectors, or connect solar wiring into home electrical panels. If a setup involves building wiring, transfer equipment, or permanent installation, use a qualified electrician.
Use cable with an amp rating above the expected operating current. Leave safety margin because sunlight, temperature, and charging behavior change throughout the day. Cable lying on hot ground, coiled tightly, or placed under rugs and gear may run warmer than expected. Avoid using cable that becomes hot, smells unusual, has cracked insulation, or shows corrosion.
Polarity also matters. Many DC connectors look similar but may not be wired the same way. Reversed polarity can prevent charging or damage equipment. Use the polarity and input specifications provided for the power station and solar panels. If you are not certain, do not guess.
Keep connections dry and off the ground when possible. Outdoor-rated does not mean waterproof under every condition. Rain, sand, mud, and repeated flexing can degrade connectors over time. Disconnect solar panels before packing, moving, or reconfiguring them so the cable is not energized while you are handling loose ends.
Maintenance and Storage for Portable Solar Extension Cables
Good cable care helps preserve both charging performance and safety. Before each use, look over the length of the extension for cuts, flattened sections, melted spots, exposed conductor, or stiff areas. Check that connectors are clean, aligned, and not cracked. A cable that worked last season can still fail after being stepped on, pinched in a door, or stored under heavy gear.
Coil cables loosely for storage. Tight bends can stress copper strands and insulation, especially in cold weather. Avoid tying cable with wire or anything sharp that can cut into the jacket. A soft strap or loose coil is better for repeated portable use.
Keep extension cables dry before long-term storage. If a cable was used in rain or damp grass, wipe it down and let it dry before packing it in a closed bin. Moisture trapped around connectors can lead to corrosion, higher resistance, and intermittent charging.
Separate solar cables from sharp tools, fuel containers, and heavy metal objects during transport. Labeling cable length and gauge can also prevent mistakes when multiple extensions are stored together. This is especially helpful when one cable is intended for a small panel and another is intended for a larger array.
| Maintenance check | What to look for | Why it matters |
|---|---|---|
| Connector condition | Clean contacts, snug fit, no cracks, no discoloration | Poor connections increase resistance and heat |
| Cable jacket | No cuts, crushed spots, melted areas, or exposed wire | Damaged insulation can create shock and fire risks |
| Coiling and storage | Loose coils, dry storage, no sharp bends | Reduces strand breakage and insulation stress |
| Labeling | Gauge and length marked or easy to identify | Helps match the cable to the correct solar setup |
Related guides:
How to Read Solar Panel Specs for Power Stations •
Solar Panel Series vs Parallel •
MC4, Anderson, DC Barrel: Solar Connectors and Adapters Explained •
Input Limits (Volts/Amps/Watts) Explained
Practical Takeaways and Specs to Look For
The best solar extension cable gauge is the one that supports your portable power station’s solar input without excessive voltage drop, overheating, or connector stress. Start with the power station’s PV input voltage and current limits, then estimate the solar array’s operating current and the distance you need. Short, low-current runs may work with lighter cable, while long or high-current runs usually need thicker cable.
If you are comparing products later, do not focus on gauge alone. A useful solar extension cable should have the right AWG size, appropriate connector type, outdoor-rated insulation, enough amp capacity, and a length that does not create unnecessary loss. Shorter is generally more efficient, but practical placement may require extra distance to reach sun while keeping the power station shaded and protected.
Specs to look for
- Wire gauge: Look for common sizes such as 14 AWG, 12 AWG, or 10 AWG; thicker wire helps reduce voltage drop on higher-current or longer runs.
- Cable length: Choose only as much length as you need, such as 10, 25, or 50 feet; extra length adds resistance and can lower charging watts.
- Current rating: Look for an amp rating above your expected solar current, such as 10 to 30 amps depending on the setup; margin helps reduce heat risk.
- Voltage rating: Choose cable and connectors rated above the solar array voltage; this matters when panels are wired in series and open-circuit voltage rises.
- Connector type and rating: Match the panel, adapter, and power station input style; compatible, well-rated connectors prevent loose fits and resistance.
- Outdoor insulation: Look for UV-resistant and weather-resistant jacket materials; portable solar cables often sit in sun, dirt, grass, and changing temperatures.
- Polarity identification: Look for clear positive and negative markings; DC polarity mistakes can stop charging or damage equipment.
- Flexibility and strain relief: Choose cable that coils easily and has reinforced connector ends; this helps with repeated campsite, RV, balcony, or emergency use.
- Temperature rating: Look for a cable suitable for hot sun and cold storage, such as broad operating ranges; temperature affects flexibility and insulation durability.
As a simple rule, check amps first, then length, then voltage drop. If in doubt between two suitable gauges for a longer run, the thicker option usually gives better performance margin. If the setup requires unusual wiring, high current, permanent mounting, or connection to building electrical systems, get help from a qualified professional.
Frequently asked questions
How do I know which solar extension cable gauge is right for my portable power station?
Start by checking the solar input current and voltage limits on the power station, then compare them with the panel or array output and the cable length you need. Higher current and longer runs usually require thicker wire to keep voltage drop low. If you are close to the limit, choosing the thicker of two suitable gauges usually gives better charging performance and more margin.
What specs matter most when choosing a solar extension cable?
The most important specs are wire gauge, current rating, voltage rating, cable length, and connector compatibility. Outdoor-rated insulation and clear polarity markings also matter because portable solar cables are often used in sun, dirt, and changing weather. A cable that matches the electrical limits but has the wrong connector or too little insulation quality is not a good fit.
What is a common mistake people make with solar extension cables?
A common mistake is choosing a cable based only on panel wattage instead of current and distance. Another frequent issue is using a cable that is too thin or a connector that is underrated for the setup. Both can reduce charging performance and create extra heat at the cable or connection points.
Can a solar extension cable be too thick?
Yes, a cable can be thicker than necessary for the job. Very thick wire is usually not dangerous by itself, but it can be heavier, less flexible, and more expensive than needed. The best choice is a gauge that safely handles the current with acceptable voltage drop, not simply the largest cable available.
Is it safe to use a longer solar extension cable for a portable power station?
It can be safe if the cable gauge, connectors, and voltage rating are appropriate for the setup. Longer runs increase resistance, so the cable may need to be thicker to avoid excessive voltage drop and heating. If the cable or connectors become hot, or if charging becomes unstable, stop and reassess the setup.
Why does my power station charge slower after I add an extension cable?
The most likely reason is voltage drop caused by cable length, wire size, or a poor connection. That drop reduces the voltage and current reaching the power station, so charging watts fall. Shade, weak sunlight, and connector issues can also contribute, so it helps to check the full cable path and panel conditions.
Related guides
Browse this topic →

- Beginner-friendly sizing, runtime & specs
- Solar & charging (MPPT, fast charging, cables)
- Batteries (LiFePO4, cycles, care & storage)
- Safety, cold-weather performance, real-world tips
More in Solar
See all →- Portable Solar Panels vs Fixed Panels: Which Is Better for a Power Station?
- Renewable Energy + Portable Storage: How Small Systems Fit Into the Grid
- Solar Extension Cables and Voltage Drop: When Cable Length Starts to Matter
- Solar Charging in Shade: Why Power Collapses and What You Can Do
- Can You Mix Different Solar Panels on One Power Station? A Safe Matching Checklist
Keep reading
About this site
Portable Energy Lab publishes practical, independent guides about portable power—clear sizing, safe use, and real-world expectations.
Affiliate disclosure
Some links on this site may be affiliate links. If you buy through these links, we may earn a small commission at no extra cost to you. This helps support our content. Learn more.