
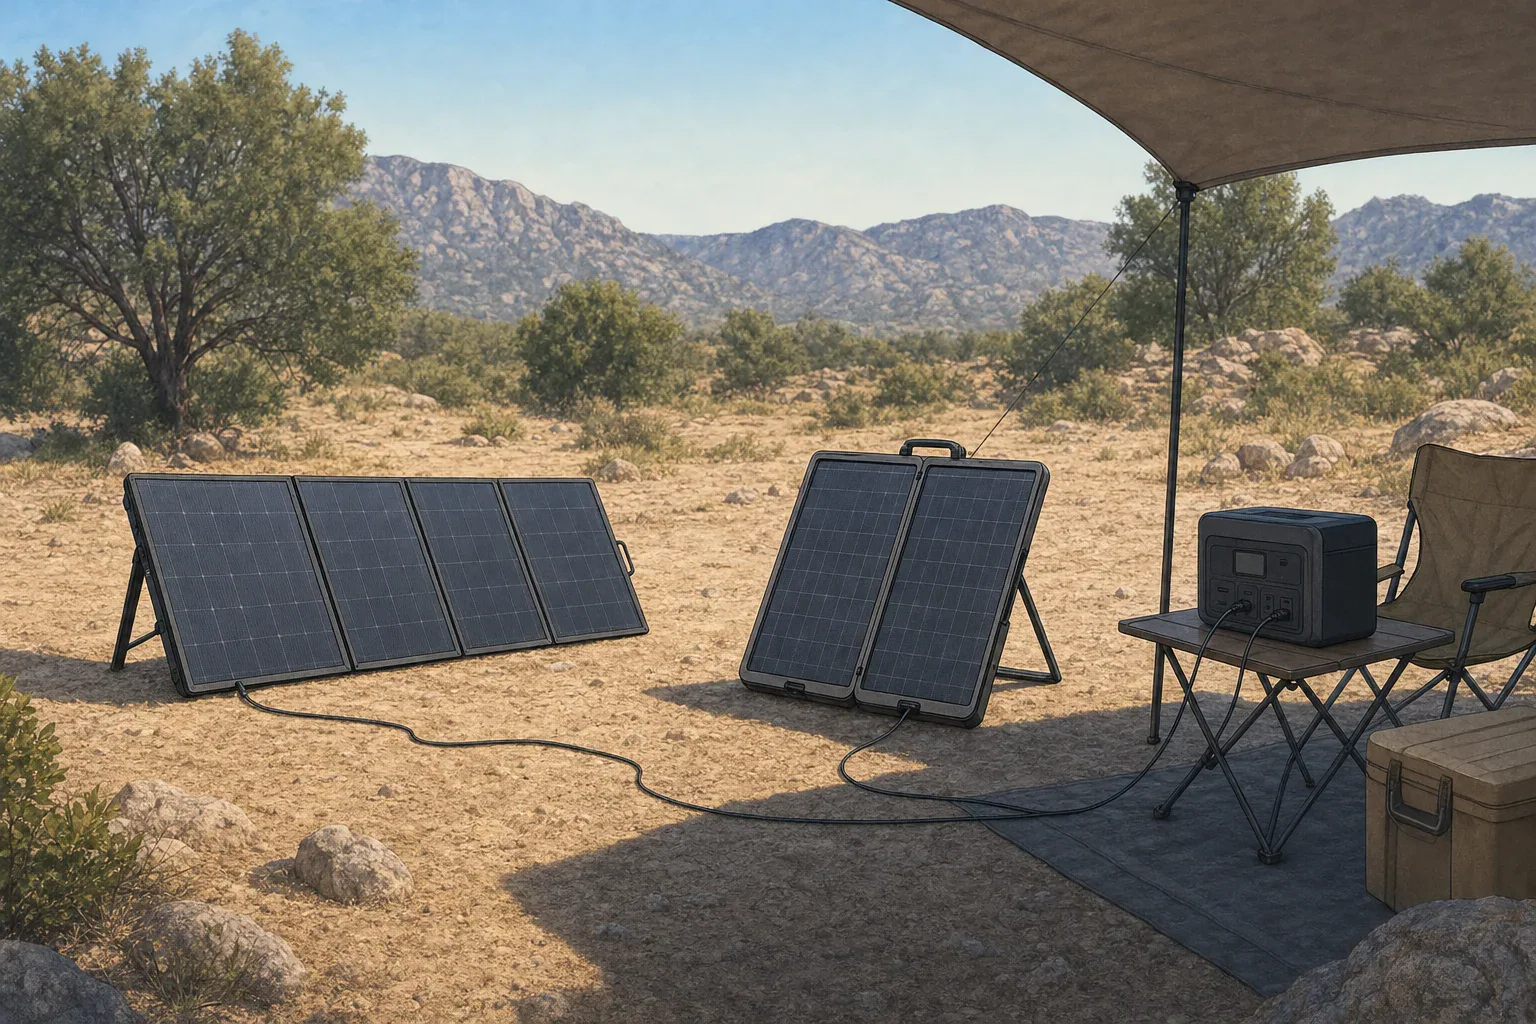
Quick answer: Choose by the specific model, not the label. First confirm the panel’s connector path, Voc, Vmp, Imp, and rated watts fit your power station’s published solar-input limits. Then compare packed dimensions, weight, deployed footprint, support parts, and cable reach. Neither format is universally smaller or faster to deploy.
Foldable vs. suitcase solar panels: decide by model
“Foldable” and “suitcase” are overlapping product descriptions, not consistent technical categories. A multi-section panel may fold into several thin sections and use its carry case as a stand. A suitcase-style panel may have two framed halves, latches, a handle, and integrated tilt struts. Renogy, for example, uses the combined name “Monocrystalline Foldable Solar Suitcase” for one product line.
Use a two-stage decision process. First eliminate panels that do not have a manufacturer-supported connection path or do not fit your power station’s published solar-input limits. Then choose between the remaining models based on storage access, carrying route, available ground area, support hardware, and cable routing.
Side-by-side format decision table
| Check | Multi-section foldable design | Framed suitcase design | What to compare |
|---|---|---|---|
| Packed shape | May fold into several relatively thin sections. | May fold once into two framed halves. | All three packed dimensions, including the normal case. |
| Carrying | May use a bag, straps, or panel-mounted handles. | May have a rigid handle and latches. | Total carry weight, handle clearance, and the complete vehicle-to-site route. |
| Support | May use several kickstands or a separate case as a stand. | May use integrated, adjustable tilt struts. | Loose parts, support points, and adjustment steps. |
| Deployed footprint | A multi-panel layout may be long and narrow. | A two-half layout may be shorter and wider. | Published deployed length and width, plus stand clearance. |
| Cable routing | The output box may be at one end of a long array. | The lead may exit near a hinge or included controller. | Whether the supplied, approved cable reaches without tension or becoming a trip path. |
| Electrical package | May provide a panel lead and station-specific adapter. | May include a controller and battery clamps. | Whether the exact output path is explicitly intended for the power station’s solar input. |
Which format packs smaller?
Neither format is inherently smaller. Measure the storage opening, not only the open cargo volume: a panel may fit inside a compartment but still be too wide or thick to pass through a hatch, door, or cabinet opening.
A model-specific comparison illustrates why the label is not enough. EcoFlow lists its 220W Bifacial Portable Solar Panel at 32.3 × 19.7 × 1.3 inches when folded and about 20.9 pounds. Renogy lists its 200W suitcase at 41.8 × 20.9 × 2.8 inches when folded and 34.4 pounds. In this particular pairing, the EcoFlow model is smaller in every packed dimension and lighter; that result does not establish a rule for other foldable or suitcase panels. See the EcoFlow 220W panel manual and the Renogy 100W/200W suitcase manual.
Also account for the carry case, adapters, extension cables, and separate support pieces. If a specification does not clearly say whether those items are included in a listed weight or dimension, do not assume the complete packed kit has been measured.
Which deploys faster?
There is no reliable format-wide answer without a defined procedure and timed testing. Manuals can show the work involved, but they do not establish a universal speed ranking.
The cited Renogy procedure includes removing the case, releasing latches, unfolding the panel, and adjusting tilt struts. The cited EcoFlow panel uses its separate protective case as a kickstand; its manual specifies a support-angle range of 30° to 80°. Count the operations that matter at your site: unloading, unfolding, arranging supports, adjusting tilt, placing the panel, and routing the cable.
Integrated legs can reduce the number of separate pieces to manage. A case-based stand may suit someone who values a combined carry-and-support item. Those are workflow differences, not proof that either design will be faster for every model or location.
Measure the complete setup before buying
- Measure the storage opening. Record usable width and height around trim, hinges, and latches, then record the compartment depth.
- Map the carry route. Include stairs, narrow doors, distance from vehicle to site, and whether the panel can be carried comfortably with its actual handle or bag.
- Mark the deployed rectangle. Use painter’s tape or a measured cord to outline the model’s published deployed length and width.
- Add stand clearance. An angled panel and its kickstands may need more ground area than the panel’s flat dimensions suggest.
- Plan the cable route. Place the power station only where its manual permits operation, then check that the supplied cable reaches without being taut, pinched, or placed across a walking route.
- Inventory the complete kit. Include the case, stands, caps, adapters, and any manufacturer-approved extension cable in the storage plan.
Illustrative footprint calculation: EcoFlow lists the cited 220W panel as 32.3 × 72.2 inches when unfolded. Treating that published panel rectangle as flat, its area is 32.3 × 72.2 ÷ 144 = about 16.2 square feet. This excludes the case/kickstand and any clearance around it, so the usable setup area should be larger.
Electrical checks still apply to both formats
A physically convenient panel is useful only when its electrical output and connection path match the exact power station. Copy these values from current manufacturer manuals or specification sheets rather than relying on retailer categories or connector appearance.
- Packed dimensions and weight: confirm whether the case, cables, controller, and stands are included.
- Deployed footprint: record panel length × width and the additional space needed by supports.
- Connector and cable: identify the exact connector type and manufacturer-approved station-side adapter; verify cable reach.
- Panel ratings: record Voc (open-circuit voltage), Vmp (voltage at maximum power), Imp (current at maximum power), and rated watts.
- Station limits: record the permitted solar-input voltage range, maximum input current, and maximum solar-input watts.
- Array configuration: if using more than one panel, use only configurations approved by the panel and station manufacturers, and check the resulting array values against the station limits.
Watts describe power at a moment in time, while watt-hours describe energy capacity or accumulated energy. A power station’s battery capacity in Wh does not establish whether a panel voltage, current, connector, or wiring arrangement is suitable. Likewise, AC-output and surge ratings describe loads powered by the inverter, not solar-input compatibility. For a fuller explanation of the relevant numbers, see How to Read Solar Panel Specs for Power Stations and Solar Input Voltage for Power Stations.
Be careful with suitcase kits that include a controller
Some suitcase packages include a solar charge controller and battery clamps. The cited Renogy package includes a Voyager controller intended for supported battery systems. Its presence does not establish that the controller output should connect to a power station’s regulated solar input.
Use only a connection path explicitly supported by both manufacturers. Do not cut cables, bypass a controller, or improvise an adapter. If the package cannot provide a documented, manufacturer-approved connection to the station, choose a different panel or contact the manufacturers for confirmation.
Do not identify solar connectors by appearance alone
“MC4-compatible” is not a complete connector specification. Stäubli’s MC4 assembly instructions state that its connectors must not be mated with connectors from other manufacturers and must not be disconnected under load. Identify the actual connector maker and type, then use the panel or power-station manufacturer’s approved adapter. See the Stäubli MC4 assembly instructions and our guide to solar connectors and adapters.
Worked compatibility example: one panel and one station
For one documented pairing, EcoFlow specifies its 220W panel at 21.8V Voc, 18.4V Vmp, 12A Imp, and 220W. EcoFlow specifies the DELTA 2 solar input as 11–60V, 15A, and 500W maximum. On the published figures for one panel, 21.8V is below 60V, 12A is below 15A, and 220W is below 500W. As a simple nameplate comparison, 220W ÷ 500W = 0.44, so the panel rating is 44% of the station’s stated 500W maximum input rating.
This is a specification comparison, not a charging-performance forecast or approval for other configurations. The connector and cable path must still be supported for the exact product revisions, and the result does not transfer to multiple panels or another power station. Sources: EcoFlow 220W panel manual and EcoFlow DELTA 2 manual.
Bottom line
Choose the model that passes both tests: it must be compatible with your exact power station and practical for your actual trip. Packed dimensions answer the storage question; deployed dimensions and support design answer the site question; connector identity, Voc, Vmp, Imp, and station input limits answer the compatibility question. “Foldable” and “suitcase” alone answer none of them.
Related guides
- Solar Panel Series vs. Parallel: Which Is Better for Charging a Power Station?
- Solar Extension Cables and Voltage Drop: When Cable Length Starts to Matter
Related guides
Browse this topic →
- Beginner-friendly sizing, runtime & specs
- Solar & charging (MPPT, fast charging, cables)
- Batteries (LiFePO4, cycles, care & storage)
- Safety, cold-weather performance, real-world tips
More in Solar
See all →Keep reading
About this site
Portable Energy Lab publishes practical, independent guides about portable power—clear sizing, safe use, and real-world expectations.
Affiliate disclosure
Some links on this site may be affiliate links. If you buy through these links, we may earn a small commission at no extra cost to you. This helps support our content. Read our affiliate disclosure.