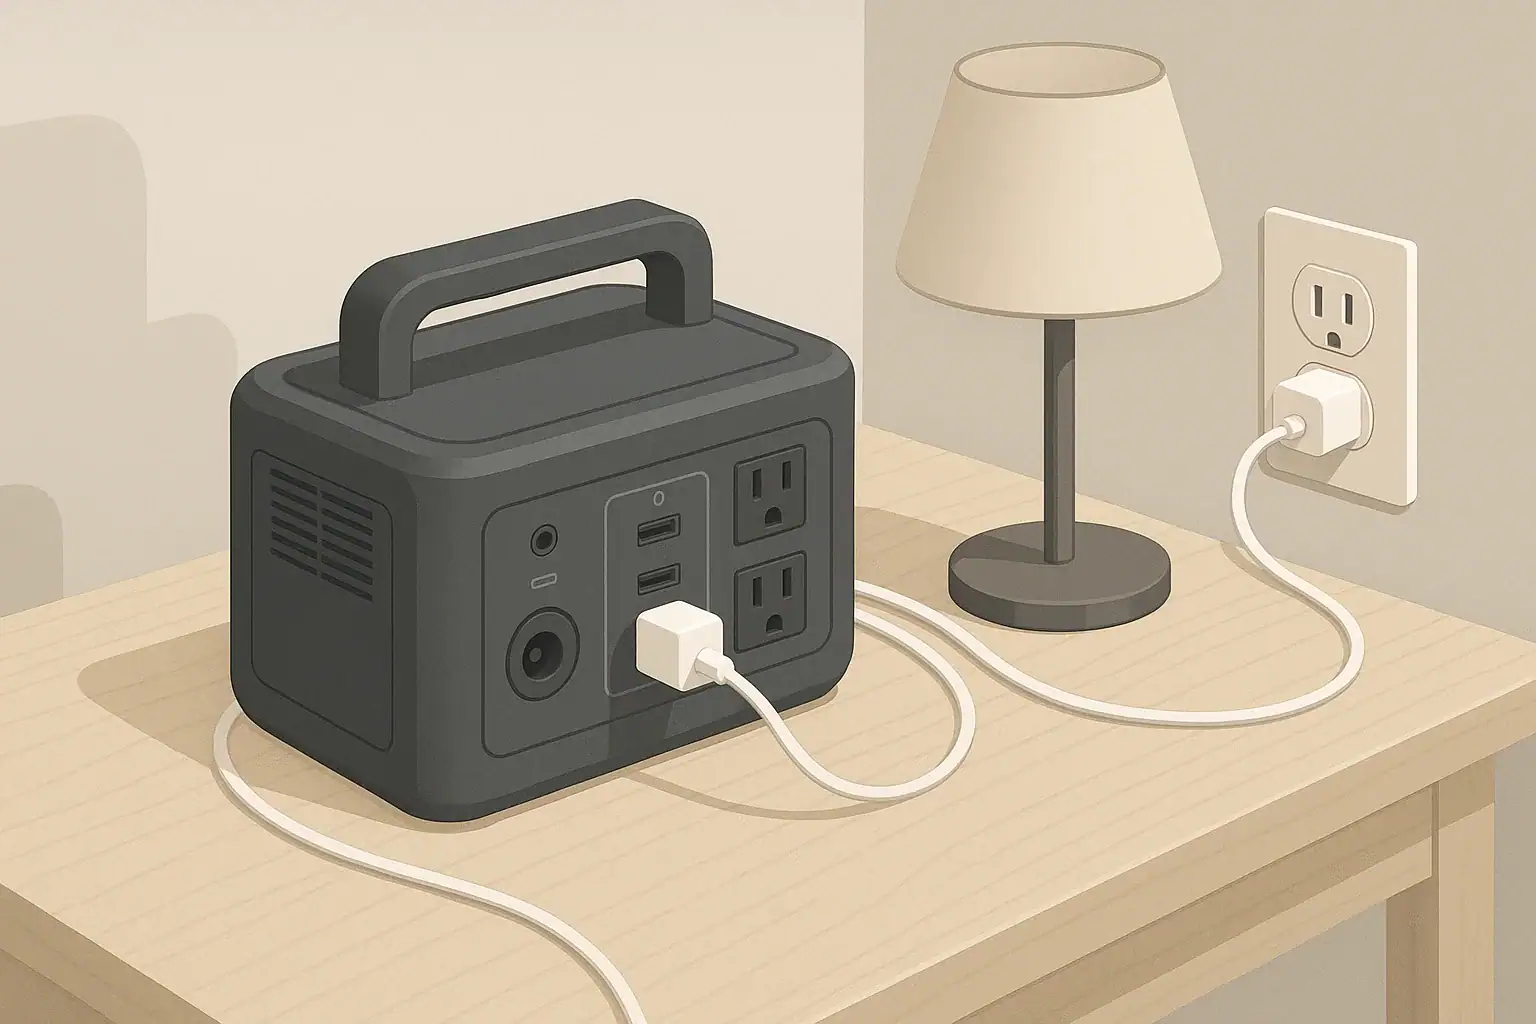
Many modern portable power stations now include firmware updates and app control. Firmware is the built-in software that runs everything inside the power station, from how the battery is managed to how the display and ports behave. App control usually means a Bluetooth or Wi‑Fi connection to your phone so you can see status information and change certain settings.
Firmware updates can fix bugs, improve safety protections, and sometimes add new features or better performance. App control can make it easier to monitor remaining runtime, check which outputs are active, and adjust settings like eco modes or charge limits without walking over to the unit.
However, these features also introduce new variables. A portable power station is still a battery and inverter first; firmware and apps layer on top of that. If the software is misconfigured or an update fails, you may see unexpected shutdowns, slower charging, or confusing error messages. Understanding what firmware and apps can and cannot change helps you separate normal behavior from actual problems.
It is also important to know what to avoid. Interrupting firmware updates, ignoring error prompts, or relying only on the app instead of the physical display can all create unnecessary risk or confusion. Treat firmware updates and apps as tools that support good sizing, safe use, and regular maintenance, rather than replacements for those basics.
What the topic means (plain-English definition + why it matters)
Many modern portable power stations now include firmware updates and app control. Firmware is the built-in software that runs everything inside the power station, from how the battery is managed to how the display and ports behave. App control usually means a Bluetooth or Wi‑Fi connection to your phone so you can see status information and change certain settings.
Firmware updates can fix bugs, improve safety protections, and sometimes add new features or better performance. App control can make it easier to monitor remaining runtime, check which outputs are active, and adjust settings like eco modes or charge limits without walking over to the unit.
However, these features also introduce new variables. A portable power station is still a battery and inverter first; firmware and apps layer on top of that. If the software is misconfigured or an update fails, you may see unexpected shutdowns, slower charging, or confusing error messages. Understanding what firmware and apps can and cannot change helps you separate normal behavior from actual problems.
It is also important to know what to avoid. Interrupting firmware updates, ignoring error prompts, or relying only on the app instead of the physical display can all create unnecessary risk or confusion. Treat firmware updates and apps as tools that support good sizing, safe use, and regular maintenance, rather than replacements for those basics.
Key concepts & sizing logic (watts vs Wh, surge vs running, efficiency losses)
Even with the most advanced firmware and app controls, the core limits of a portable power station come from its capacity and power ratings. Capacity, measured in watt-hours (Wh), is like the size of the fuel tank. Power, measured in watts (W), is how fast energy can be delivered to your devices at a given moment. Firmware can help manage these limits but cannot change the underlying physics.
Running watts describe the steady power draw of your devices under normal use. Surge watts describe the brief spike when a device starts up, such as a compressor in a refrigerator or a motor in a power tool. Inverter firmware often monitors both, shutting down or limiting output if startup surges exceed what the unit can safely supply. An app may show when the inverter is near its limits, but it cannot force the hardware to exceed safe ratings.
Efficiency losses are another key concept. When a battery’s DC energy is converted to AC power, some energy is lost as heat in the inverter and electronics. Typical round-trip efficiencies might be around 80–90% for AC output, and somewhat higher for direct DC or USB outputs. Firmware can optimize how and when components run to reduce losses, but efficiency is never 100%. App readouts of remaining time are estimates that factor in these losses and can change quickly as your load changes.
Because of these relationships, firmware and app features should support, not replace, basic sizing logic. You still need to add up the watts of your devices, estimate daily energy use in Wh, and compare that to both the power station’s capacity and its inverter limits. The app can help visualize this in real time, but accurate planning still starts with simple math and a clear understanding of your priorities during outages, travel, or work.
| What to check | Why it matters | Example note |
|---|---|---|
| Total running watts of devices | Ensures inverter can handle continuous load | Keep continuous load under about 80% of rated watts |
| Highest surge watts | Prevents startup trips and shutdowns | Motors and compressors can briefly pull 2–3× running watts |
| Daily energy in Wh | Determines needed battery capacity | Add up watts × hours for each device per day |
| AC vs DC usage | Affects overall efficiency and runtime | DC and USB usually waste less energy than AC output |
| Expected ambient temperature | Influences safe output and charging behavior | Cold can reduce usable capacity; high heat can trigger limits |
| Firmware power-saving features | Helps avoid unwanted shutdowns or wasted power | Eco modes may turn off low loads after a set time |
| App monitoring options | Improves awareness of loads and runtime | Look for real-time watts and estimated hours remaining |
Real-world examples (general illustrative numbers; no brand specs)
Consider a mid-sized portable power station with a battery around 700 Wh and an inverter capable of roughly 800 W continuous output. If you plug in a 60 W laptop, a 10 W phone charger, and a 20 W Wi‑Fi router, your total running load is about 90 W. Ignoring losses for a moment, you might expect a little under 8 hours of runtime (700 Wh ÷ 90 W). After accounting for efficiency losses, a more realistic estimate shown in the app might be closer to 6–7 hours.
Now imagine adding a small dorm-style refrigerator drawing 70 W running but needing 200 W or more at startup. The inverter may handle the surge, but now your total running load is around 160 W. The app may quickly revise the remaining runtime from several hours down to just a few. If the fridge cycles on and off, you might see the displayed runtime estimate continually adjust. This is normal and reflects the firmware updating its predictions as loads change.
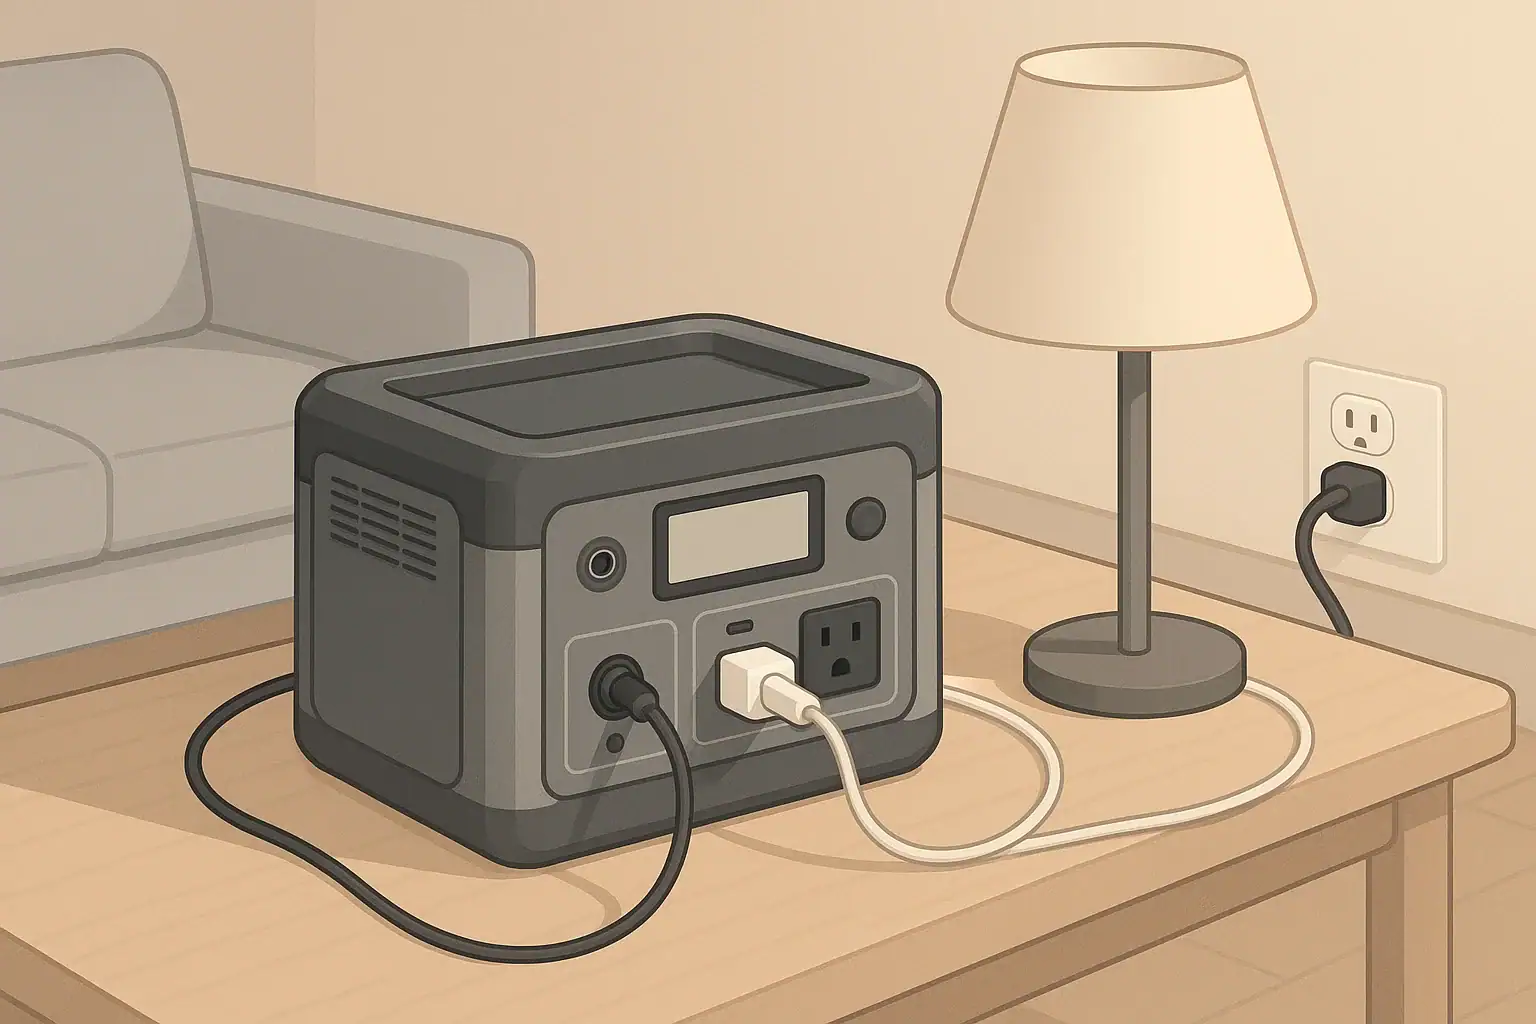
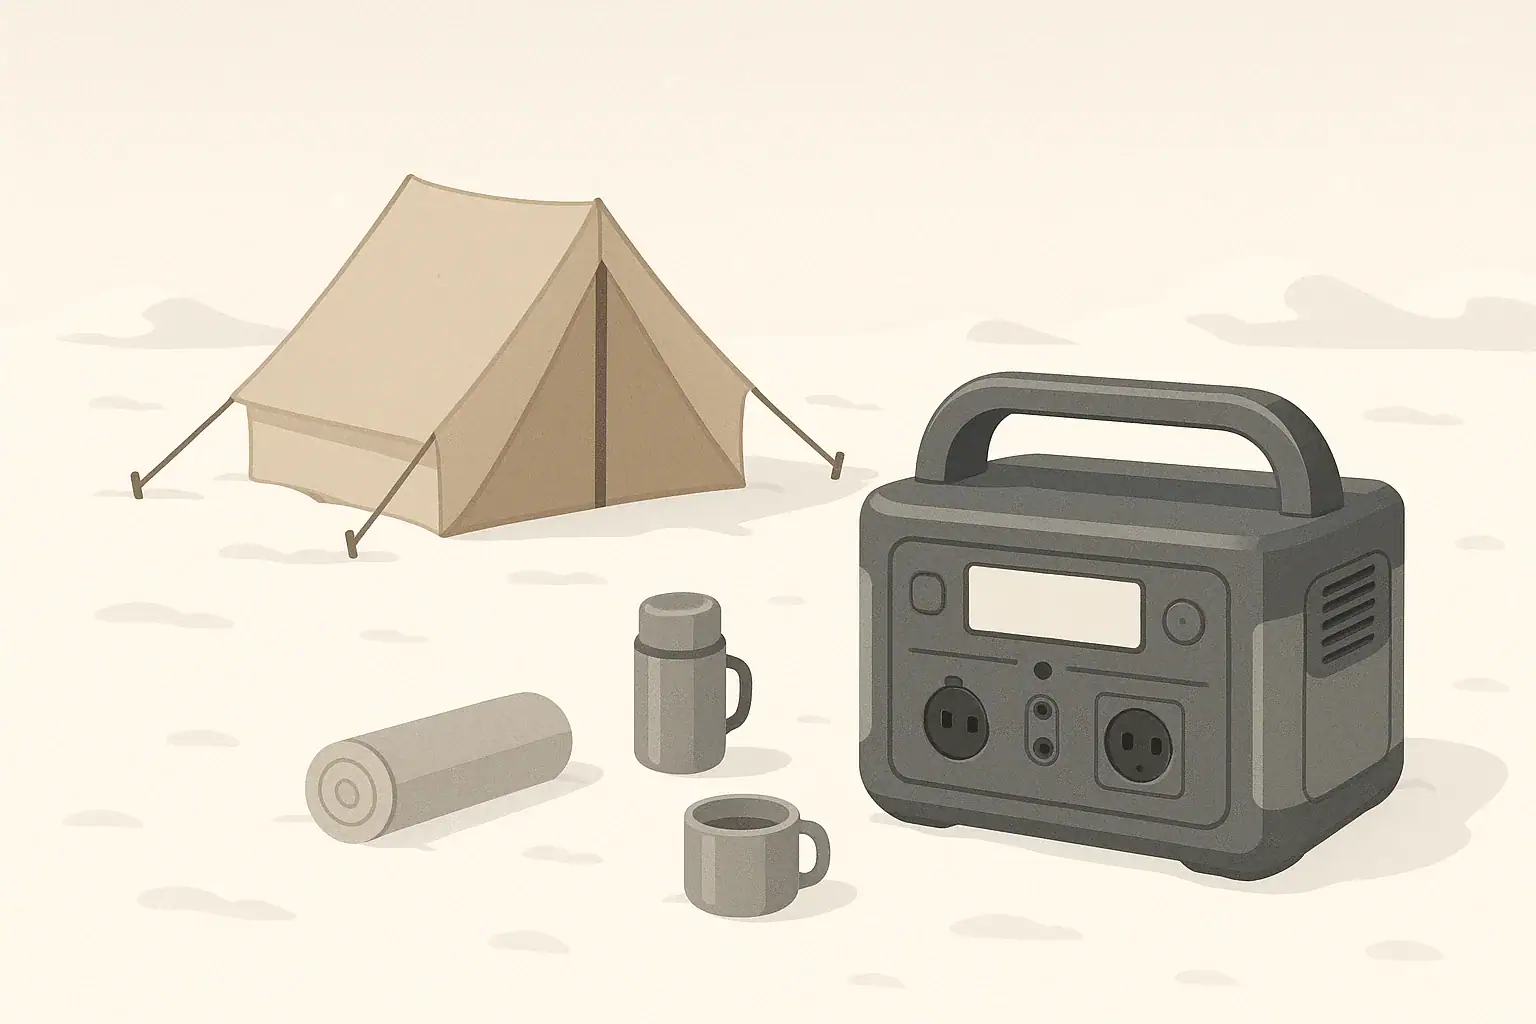
For short power outages at home, you might prioritize a few essentials: LED lighting at 15 W, a router at 10 W, and phone charging at 10 W. With a similar 700 Wh unit, your total load of 35 W could yield around 15–18 hours of use when you factor in inverter efficiency and some standby draw. The app may let you disable unused ports so the firmware can reduce idle consumption and extend runtime slightly.
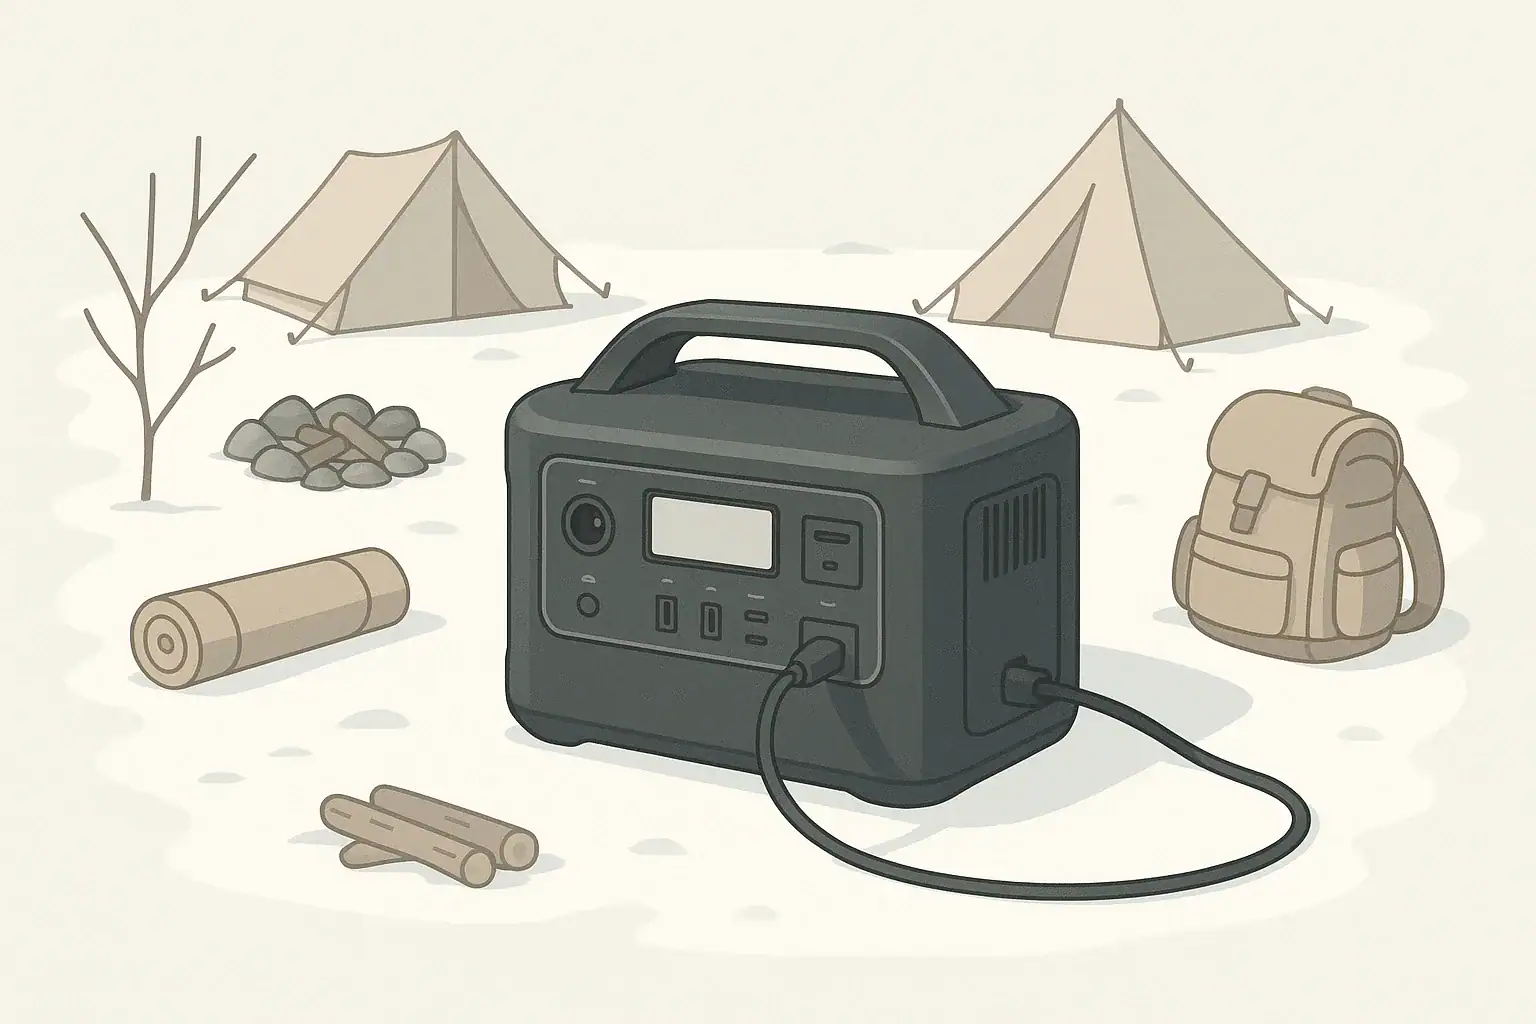
On a remote work trip or camping outing, you might run a laptop (60 W) and a portable monitor (20 W) for 6 hours a day, along with phone and camera charging totaling 20 W for 3 hours. That is roughly 60×6 + 20×6 + 20×3 = 600 Wh per day before losses. With the same 700 Wh unit, firmware might reduce usable capacity slightly to protect the battery, and the app could show that you are pushing close to a full discharge daily. In this scenario, a solar panel or vehicle charging plan becomes important, and the app can help you track whether your daily charging keeps up with usage.
Common mistakes & troubleshooting cues (why things shut off, why charging slows, etc.)
Many issues that appear to be firmware or app problems actually come from sizing or settings. One common mistake is overloading the inverter, especially with devices that have high surge demand. The power station may shut off AC output immediately or after a brief attempt to start the load. You might see an error icon on the display or a message in the app while everything else on the unit appears fine.
Another frequent source of confusion is low-load eco modes. Some power stations include a feature that turns off AC output if the load stays below a certain threshold for a set time. This helps prevent wasted energy from idle inverters. Users sometimes think the unit is malfunctioning when small loads, such as a single phone charger, cause the AC ports to turn off automatically. The app may allow you to change or disable this behavior; if not, plugging in an additional small device or using DC/USB ports instead can avoid unwanted shutdowns.
Charging that slows down or stops early often relates to temperature, input limits, or state-of-charge management. Firmware may reduce charging power once the battery reaches a high level to protect cell health, or if the unit senses it is getting too warm. In cold conditions, charging may be restricted or prevented altogether until the internal temperature rises. If your app shows a lower charging wattage than expected, check for high or low temperature warnings and confirm that your wall, car, or solar source is capable of delivering the wattage you are expecting.
A less obvious mistake is interrupting firmware updates or starting them at inconvenient times. If you launch an update while you depend on the power station for critical loads, you may interrupt power if the unit needs to restart. In rare cases, an incomplete update can lead to unusual behavior or the need for customer support. It is generally better to perform updates when the battery has plenty of charge, the unit is not actively powering important devices, and you have time to confirm everything works afterward.
Safety basics (placement, ventilation, cords, heat, GFCI basics at a high level)
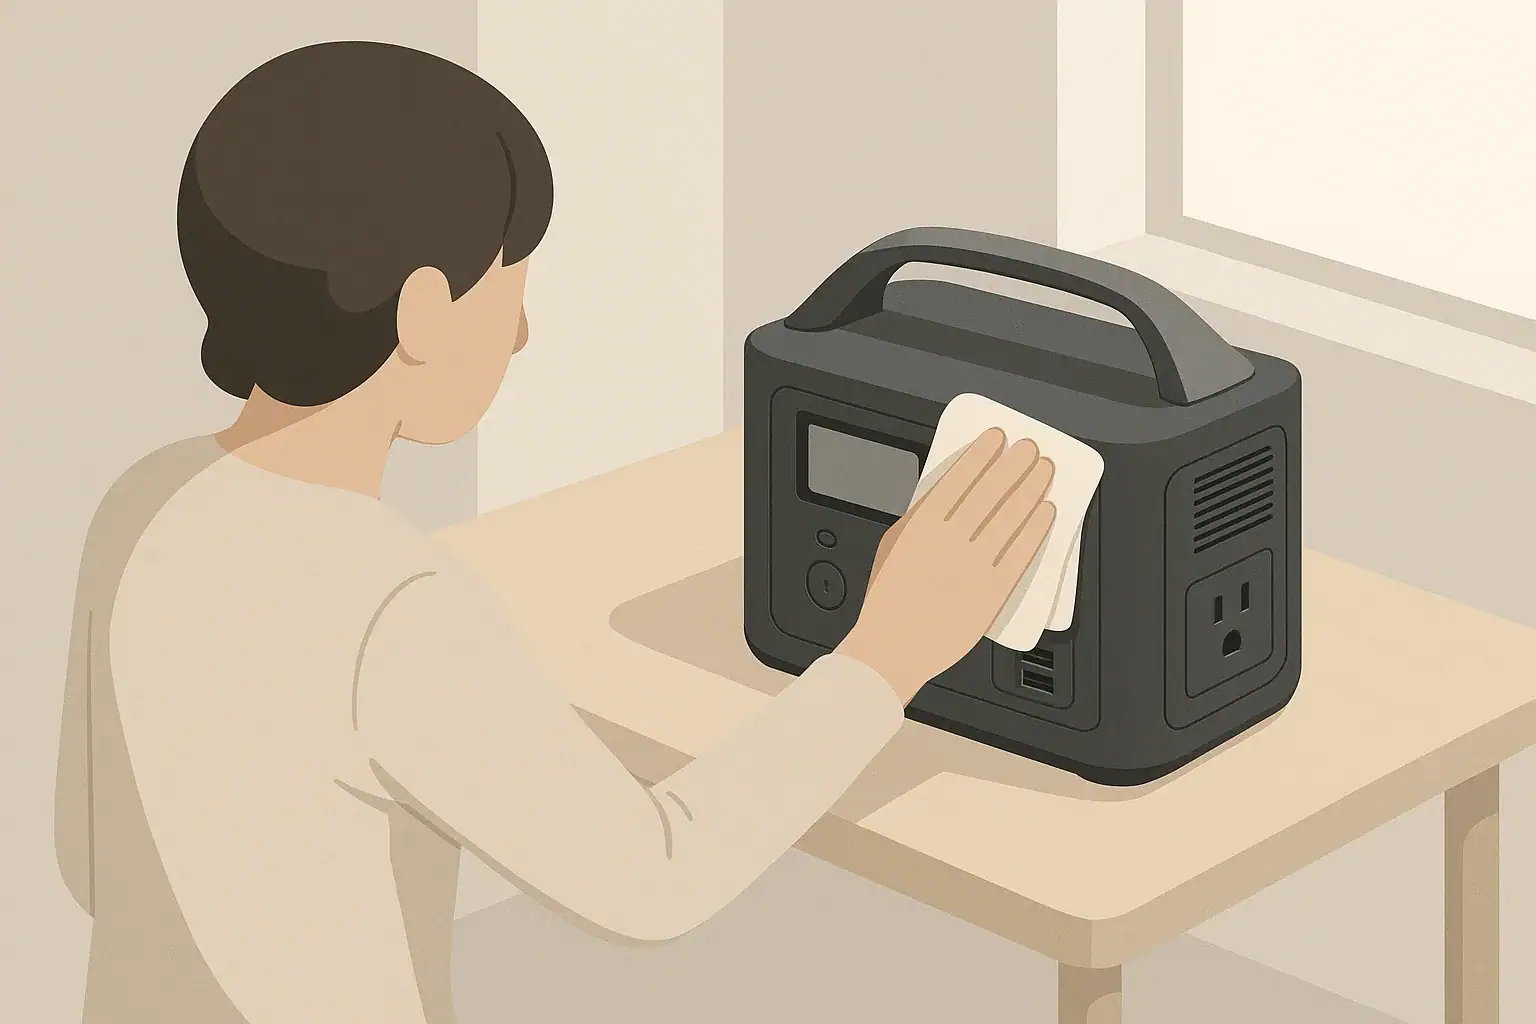
Firmware and app features cannot replace basic safety practices. Place your portable power station on a stable, dry, and nonflammable surface. Keep it away from flammable materials, direct heat sources, and standing water. Maintain good airflow around the vents so internal fans and cooling systems, which firmware controls, can do their job. Blocking vents can cause overheating and automatic shutdowns, or in extreme cases damage components.
Use cords and extension cables rated for the loads you plan to run, and avoid daisy-chaining multiple power strips. Long, undersized cords can overheat and drop voltage. Firmware may detect abnormal conditions and shut down to protect the unit, but that should be considered a last line of defense. Inspect cords for damage before use, and coil or route them so they are not tripping hazards.
Many portable power stations include outlets that are similar to standard household receptacles but may not incorporate the same ground fault protection. If you plan to power devices in damp or outdoor environments, consider using a separate GFCI-protected extension cord or outlet strip designed for that purpose. Do not attempt to modify the power station or bypass safety features. If you want to connect a portable power station to a building’s electrical system, consult a qualified electrician and use proper transfer equipment; do not backfeed power through standard household outlets.
Heat management is another area where firmware plays an important role. The unit may automatically limit charging or discharging, or turn on cooling fans, when internal temperatures rise. You may hear the fans ramp up or see warnings on the display or in the app. Take these cues seriously: move the unit to a cooler, shaded location, improve ventilation, and avoid covering it with blankets or gear. In hot vehicles, avoid leaving the power station in direct sunlight or in closed trunks for extended periods.
Maintenance & storage (SOC, self-discharge, temperature ranges, routine checks)
Good maintenance practices protect the battery and electronics, making firmware and app features more effective over the long term. Most lithium-based portable power stations are happiest when not stored fully empty or fully charged for long periods. A moderate state of charge, such as around 40–60%, is often a reasonable compromise for storage. Some apps allow you to stop charging at a target level; if so, you can use this to support healthier long-term storage, especially if the unit is rarely used.
Self-discharge means the battery will slowly lose charge even when not in use. Firmware may power low-level monitoring circuits and keep the Bluetooth or Wi‑Fi radio ready, which also uses a small amount of energy. As a result, a power station left untouched for several months can drop noticeably in state of charge. It is wise to check the unit every few months and top it up if needed. Some apps let you see the state of charge without walking to the unit, as long as it remains within wireless range and has some charge.
Temperature during storage has a large effect on battery life. Avoid leaving the power station in very hot or very cold locations, such as unconditioned garages during heat waves or vehicles in freezing conditions. Firmware may block charging at extreme temperatures, but it cannot entirely prevent long-term capacity loss if the battery is repeatedly exposed to harsh environments. Indoors, a cool, dry place off the floor is typically better than an attic or uninsulated shed.
Routine checks are simple but helpful. Inspect the housing and ports for damage, ensure cooling vents are free of dust and debris, and confirm that charging and discharging still behave as expected. If your unit or app supports firmware version display, you can occasionally check whether a newer version is available. When updates are offered, review the notes if available and weigh the potential benefits against your current needs, especially if the power station is performing reliably.
| Item | Suggested approach | Practical note |
|---|---|---|
| Storage state of charge | Keep roughly mid-level, not full or empty | Aim around half charge if storing for several months |
| Top-up interval | Recharge periodically to offset self-discharge | Check every 2–3 months and recharge as needed |
| Storage temperature | Store in a cool, dry indoor space | Avoid attics, hot cars, or damp basements |
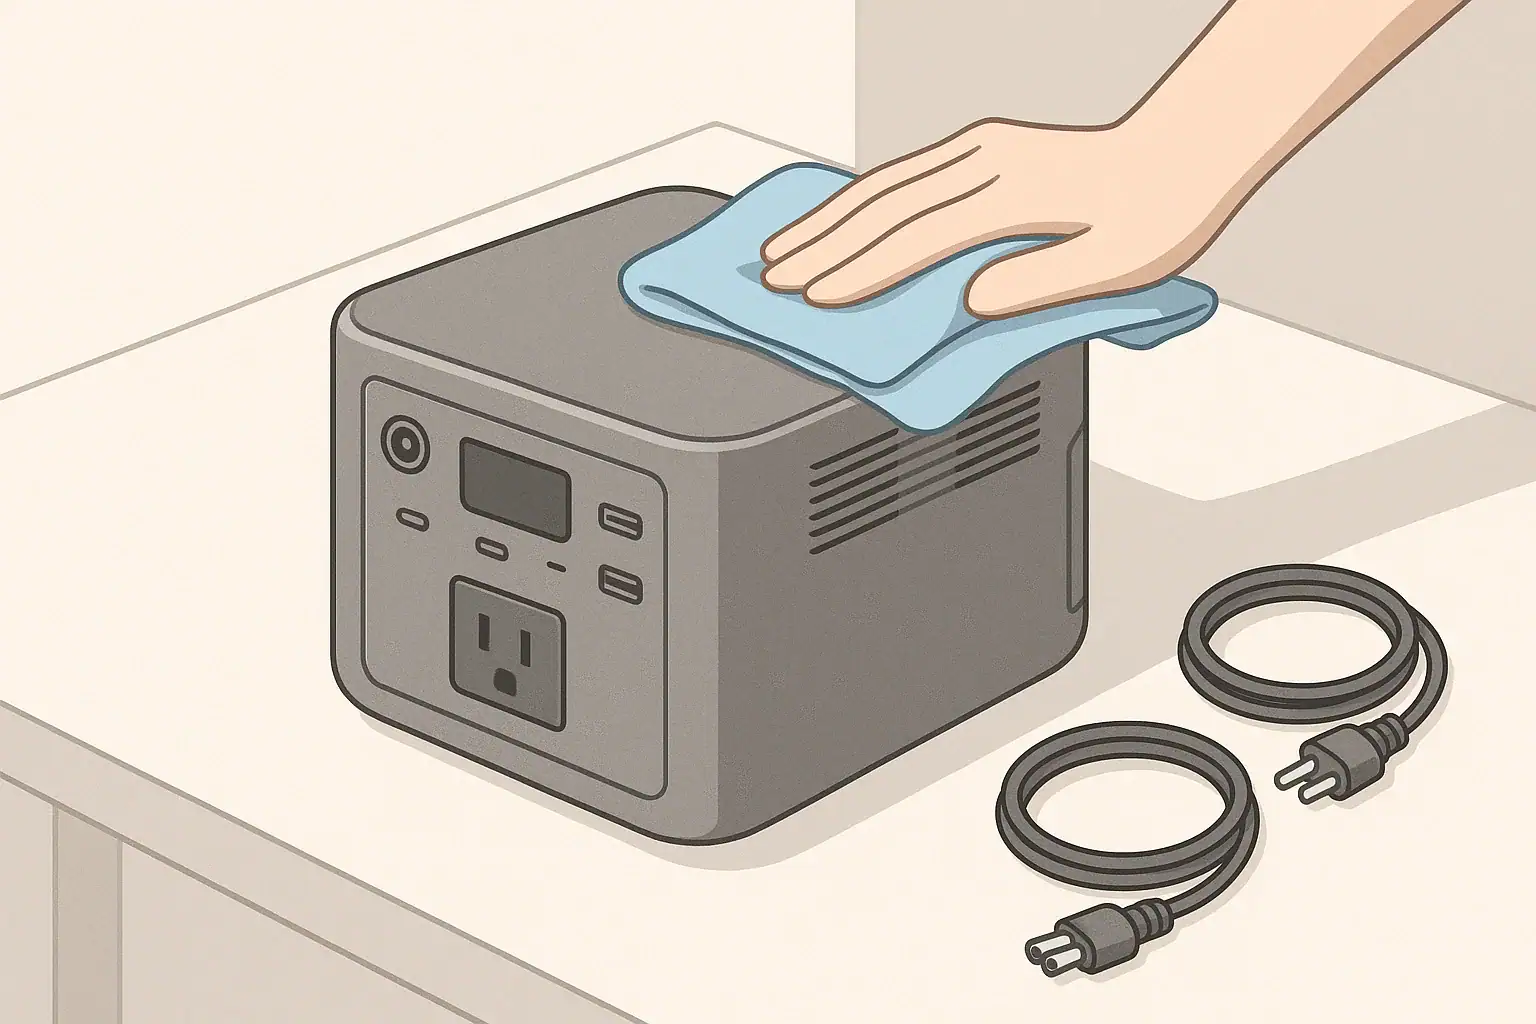
| Vent cleaning | Keep intake and exhaust vents clear | Light dusting to maintain airflow and cooling |
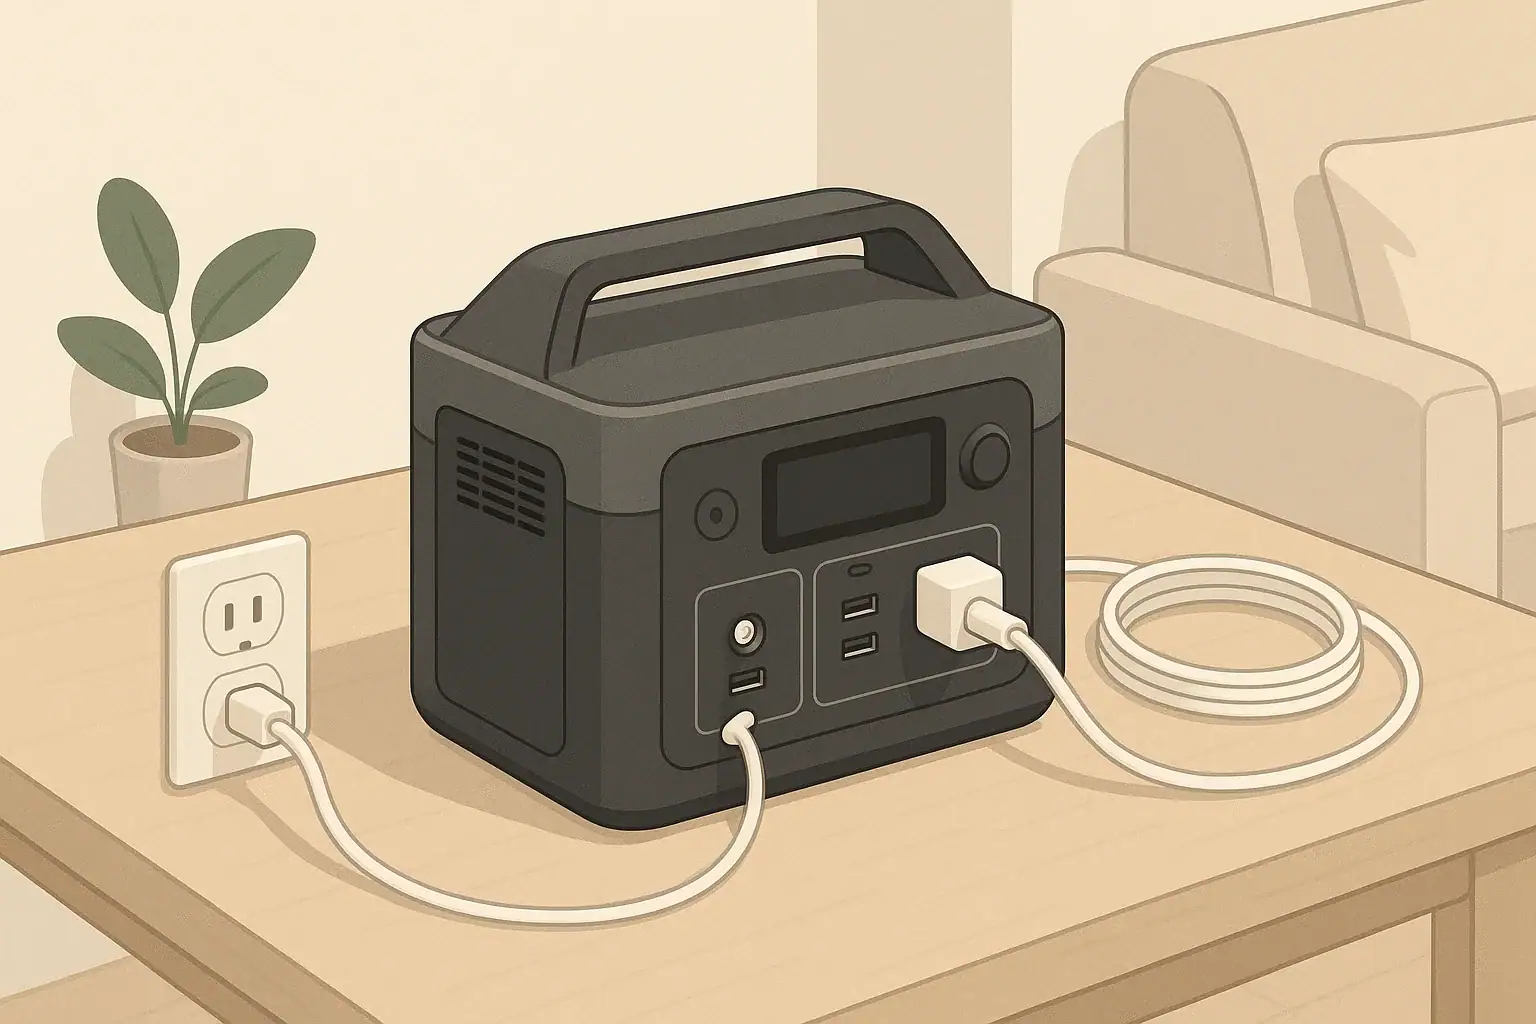
| Functional test | Occasionally run a small load | Verify AC, DC, and USB outputs work as expected |
| App and firmware check | Review for updates during non-critical times | Update only when you have stable power and time to test |
| Labeling and notes | Keep simple notes on use and issues | Record dates of updates and any unusual behavior |
Practical takeaways (non-salesy checklist bullets, no pitch)
Firmware updates and app control can make portable power stations more transparent and convenient, but they work best when you still respect the fundamentals of capacity, power limits, and safe operation. Use digital tools to supplement your planning and awareness, not as a substitute for understanding watts, watt-hours, and basic load calculations.
Approach updates and settings changes deliberately. Avoid changing critical parameters or installing new firmware when you rely on the power station for essential loads. Treat error codes, temperature warnings, and unusual app readings as prompts to step back and check placement, ventilation, load size, and cords before assuming a defect.
Over the long term, steady habits matter more than any single feature: appropriate storage charge levels, moderate temperatures, occasional functional tests, and regular visual inspections. The app can make these checks easier to remember and perform, while firmware helps protect the battery and inverter from abuse and extreme conditions.
- Know your key numbers: inverter watt limit, approximate battery Wh, and typical device loads.
- Expect runtime estimates in the app to change as loads start, stop, or cycle.
- Use eco or low-load modes intentionally, and be aware they can shut off quiet loads.
- Keep vents clear, cords in good condition, and the unit away from heat and moisture.
- Store at a partial charge in a cool, dry place and check every few months.
- Plan firmware updates for low-stress times, with plenty of battery and no critical loads.
- Contact the manufacturer or a qualified professional if you see persistent faults, physical damage, or cannot resolve shutdowns after checking loads and environment.
With these practices, firmware updates and app control become practical tools to help you use your portable power station more confidently across outages, trips, and everyday tasks.
Frequently asked questions
How often should I install firmware updates on my portable power station?
Install updates when the manufacturer publishes them and the release notes indicate important fixes or safety improvements. Perform updates during non-critical times with plenty of battery charge and a stable connection so you can verify normal operation afterward. You don’t need to update immediately for every minor release unless it addresses a specific issue you are experiencing.
What are the main risks if a firmware update fails or is interrupted?
An interrupted update can cause temporary malfunction, corrupted settings, or loss of features and may require a retry or customer support intervention. To reduce risk, ensure the unit has sufficient charge, a stable network connection, and that no critical loads depend on it during the update. If problems occur, follow the manufacturer’s recovery steps before using the unit for important loads.
Can the app override hardware safety limits like inverter wattage or temperature protections?
No — app controls typically adjust user-configurable settings but cannot bypass built-in hardware safety limits. The firmware enforces protections such as maximum inverter output, temperature cutoffs, and charging limits to prevent damage. Treat app settings as convenience features; the unit’s internal protections remain authoritative.
Why might charging slow down or stop after an update or during normal use?
Firmware can change charging profiles to prioritize battery health, enforce temperature-based limits, or calibrate state-of-charge reporting, all of which can reduce charging speed near full capacity. Charging may also be limited if the unit detects high or low ambient temperatures or an insufficient input source. Check for temperature warnings, input power limits, and any new notes in the update changelog.
How can I tell whether unexpected shutdowns are due to firmware/settings versus hardware issues?
Start by checking load size and surge demands, eco/low-load settings, and temperature or error messages shown on the display or app. Reproduce the shutdown with controlled, known loads and observe whether changing app settings or reverting recent updates affects the behavior. If shutdowns persist after these checks, contact support or a qualified technician for further diagnosis.
Recommended next: