How to Use This Simple Buying Checklist
Portable power stations pack a lot of specs and buzzwords into a small box. This checklist helps you quickly separate what actually matters for everyday use from features that are mostly marketing. Use it as a practical filter before you buy.
At a high level, think about three things:
- What you need to power (devices and appliances)
- How long you need power (hours or days)
- How you can recharge (wall, car, solar)
Once you know those basics, the rest of the specs fall into place. The sections below walk through key decisions in plain language.
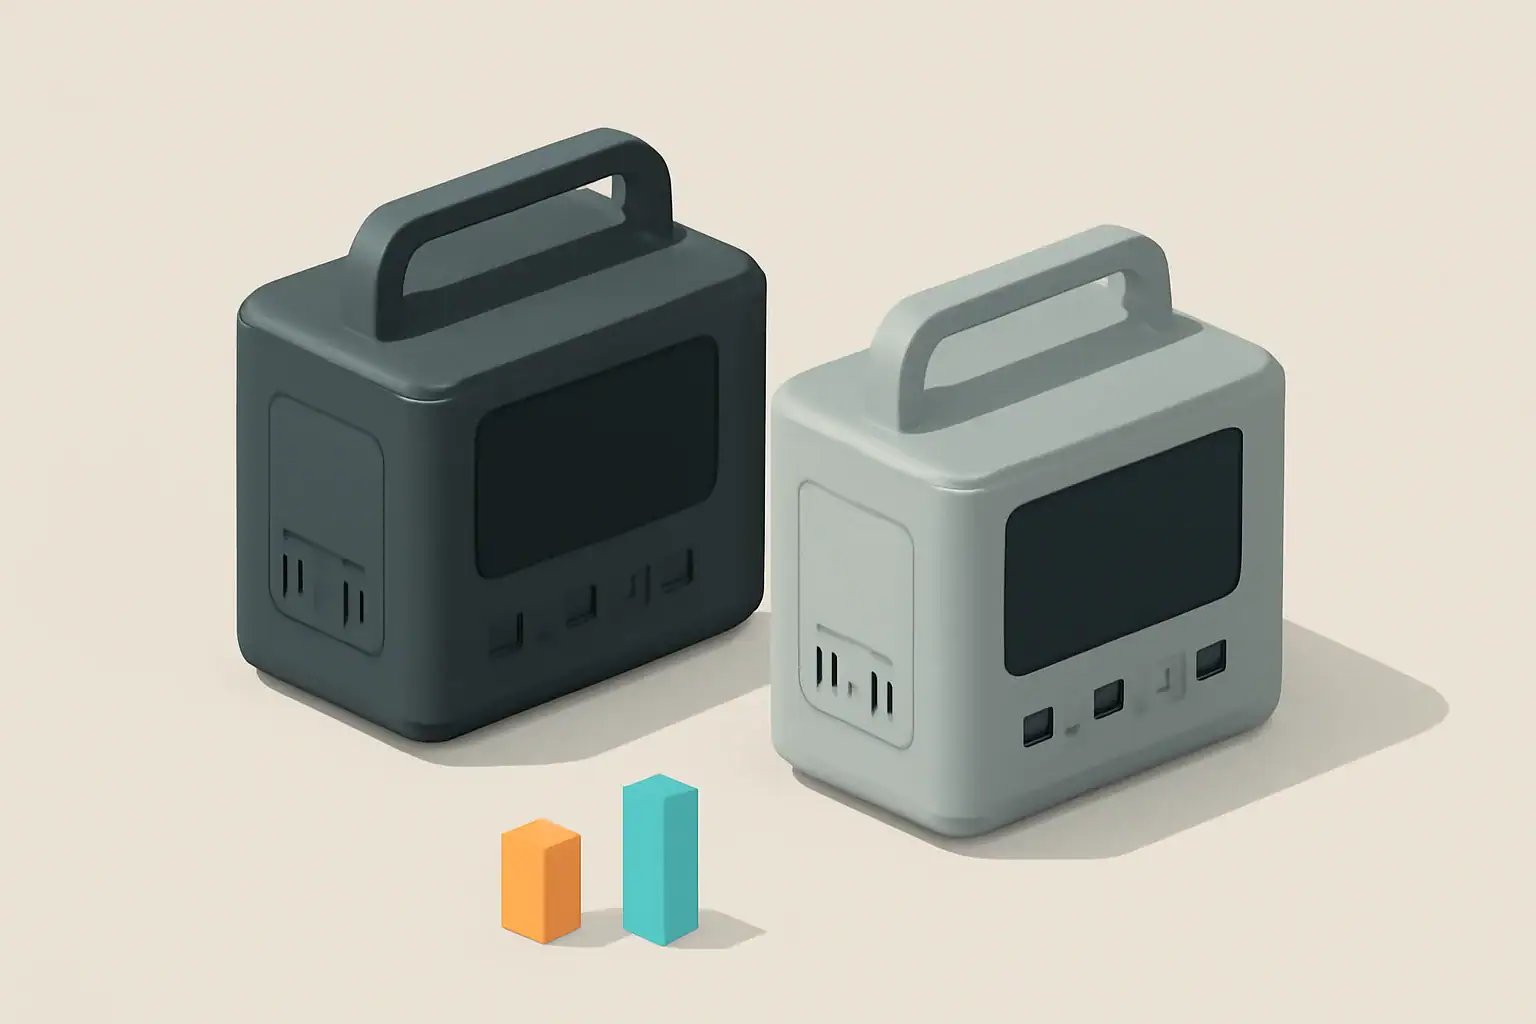
Capacity and Power: The First Things to Check
Capacity and power ratings are the core of any portable power station. Everything else is secondary.
Battery capacity in watt-hours (Wh)
Battery capacity, usually given in watt-hours (Wh), tells you how much energy is stored. As a rough guide:
- Under 300 Wh: phones, tablets, small cameras, a laptop for a few hours.
- Around 300–600 Wh: multiple device charges, a laptop all day, small fan or router for part of a day.
- Around 600–1,200 Wh: better for short power outages, small fridge for some hours, work-from-anywhere setups.
- 1,200+ Wh: longer outages, powering several essentials, or more demanding camping/RV use.
These are examples only; real runtimes depend on how much power your devices draw and how efficiently the station runs.
Running watts vs surge watts
The inverter in a power station converts battery power into AC power. It has two key ratings:
- Running (continuous) watts: how much power it can supply steadily.
- Surge (peak) watts: a short burst of extra power, usually needed when certain devices start up.
For example, a small fridge or power tool might need a higher surge when starting, then settle at a lower running watt level. Always match the running watts of the power station to the expected combined load of what you want to plug in, with some headroom.
What matters most
- Matters: Wh capacity that fits your runtime needs, running watts that match your devices, and enough surge capability for anything with a motor or compressor.
- Matters less: Very high surge ratings if you only power electronics like laptops and phones.
Example values for illustration.
| Checklist item | Why it matters | What to look for |
|---|---|---|
| Total battery capacity | Determines how long devices can run | Enough Wh to cover your highest-priority devices for the hours you expect |
| AC running watt rating | Limits how many devices you can power at once | Total device watts plus a safety margin instead of an exact match |
| Number and type of outlets | Avoids having to juggle plugs or extra adapters | Right mix of AC, DC, USB-A, and USB-C for your typical setup |
| Recharge methods | Decides how usable it is beyond wall charging | Wall charging plus car or solar if you camp, travel, or face long outages |
| Estimated recharge time | Affects how quickly you can be ready again | Recharge window that fits your routine or daylight hours |
| Weight and size | Impacts how realistic it is to move and store | Comfortable to lift and carry for your typical use |
| Basic safety features | Helps protect devices and users | Overload, over-temperature, and short-circuit protections listed in specs |
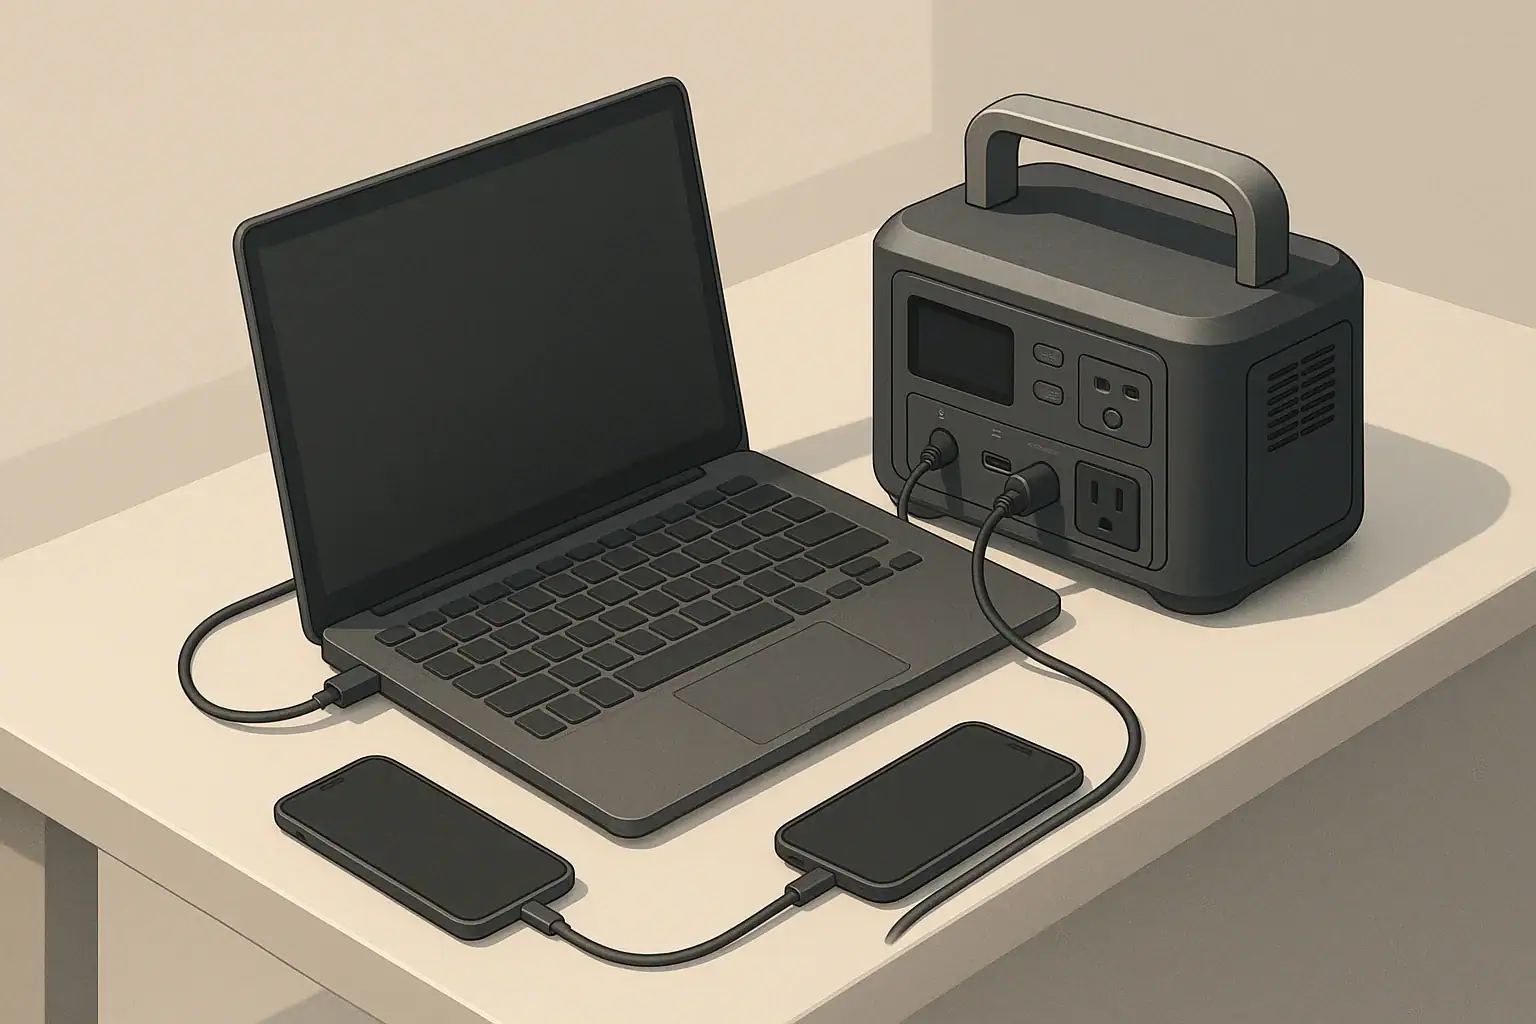
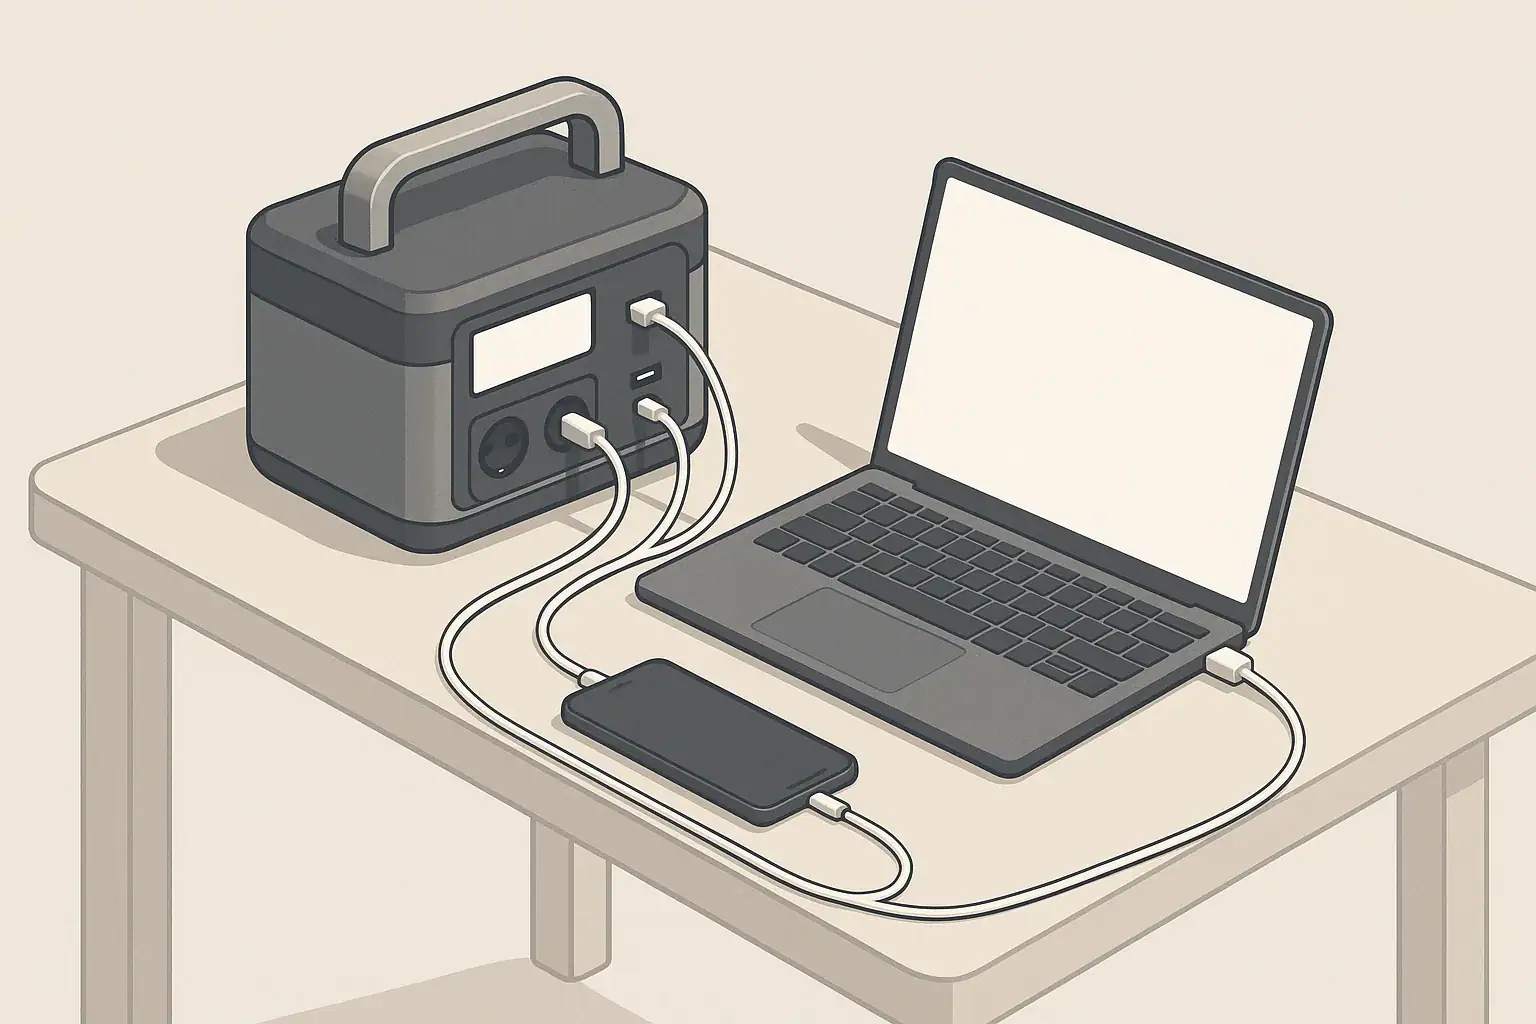
Outputs and Inverters: Matching the Ports to Your Devices
Once you know capacity and power, focus on how you will actually connect your gear. Many buyers either overlook ports or get distracted by flashy ones they will rarely use.
AC outlets and inverter type
Portable power stations typically offer one or more 120 V AC outlets. Two points matter most:
- Number of outlets: Enough for your usual mix of devices without stacking multiple power strips.
- Inverter type: For sensitive electronics (most modern devices), a pure sine wave inverter is generally preferred over modified sine wave for smoother power delivery.
If you mainly charge small electronics via USB and rarely use AC, you can prioritize having at least one AC outlet and more USB ports instead of several AC outlets.
DC and USB ports
Beyond AC, you will likely see:
- 12 V car-style outlet for coolers and some camping gear.
- Barrel-style DC ports for certain lights or accessories.
- USB-A ports for phones, headphones, and other small gadgets.
- USB-C ports, sometimes with higher power delivery for laptops and tablets.
USB-C with power delivery can often charge laptops efficiently without using the inverter, which typically wastes more energy.
Pass-through-charging basics
Some power stations support pass-through charging, where the unit charges from an input source while also powering connected devices. This can be helpful for remote work or during outages.
Keep in mind:
- Pass-through can generate extra heat inside the unit.
- Higher heat can affect battery longevity over time.
- Heavy loads during pass-through are best avoided unless clearly supported in the manual.
Use it as a convenience feature, not as a permanent setup.
Charging Methods: Wall, Car, Solar, and Time Planning
Power stations are only as useful as your ability to recharge them. Look at both the methods available and the time each method takes.
Wall charging (AC)
Wall charging is the default for most people. Check:
- Included charger type (power brick, direct AC cord, or modular system).
- Approximate charge time from empty to full as a general reference.
- Whether there is an option for faster charging (for example, via higher wattage input or dual inputs).
Faster charging is convenient, but can be noisier (more fan use) and may stress components more. Moderate charge times are often fine if you plan ahead.
Car charging (12 V)
Car charging is useful for road trips, vanlife, or when wall power is unavailable. Keep in mind:
- Charging through a vehicle outlet usually provides relatively low power compared with wall or solar inputs.
- Charge times can be long, especially for larger-capacity units.
- Follow the power station and vehicle guidelines to avoid draining your starter battery when the engine is off.
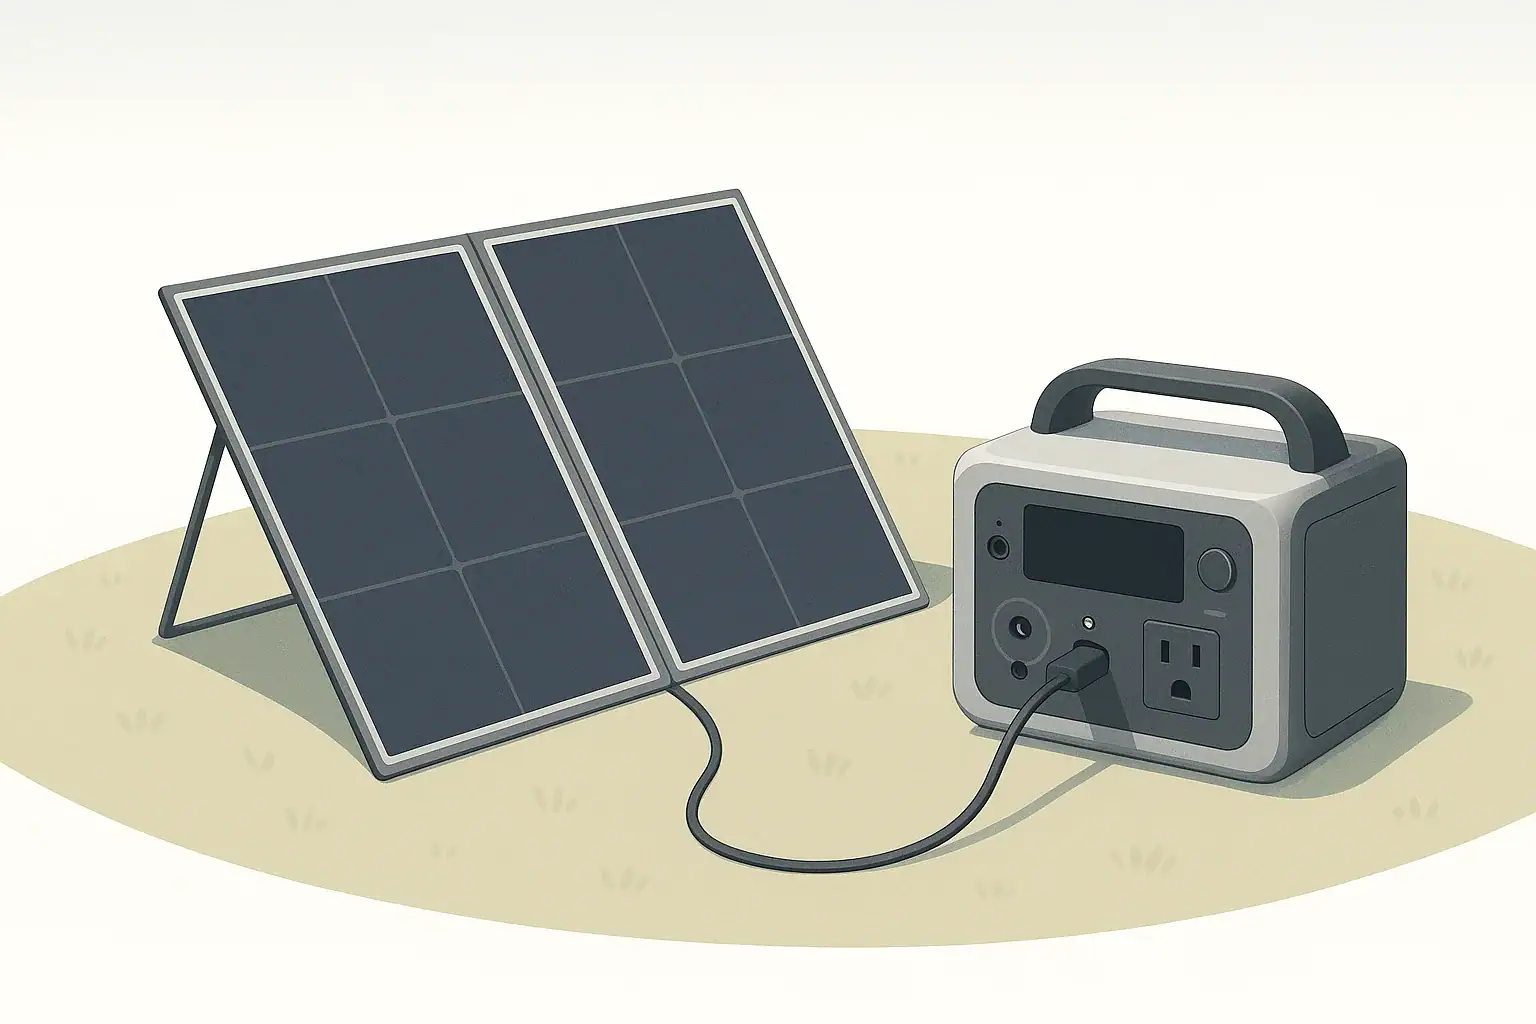
Solar charging basics
Solar can extend your runtime indefinitely in good conditions, but it comes with variability.
- Check that the power station supports solar input and note the recommended input range.
- Look at the maximum input wattage listed so you understand how much panel capacity can be used effectively.
- Remember that real-world solar output is often lower than the panel rating due to angle, temperature, and weather.
For planning, think in terms of usable sun hours per day. For example, if you assume around 4–5 hours of reasonably strong sun, a 200 W panel might give roughly 600–800 Wh of energy in practice. This is an estimate only and varies by season and location.
Why charge time really matters
Fast charging is attractive, but the bigger question is whether you can get back to a usable level of charge within your typical window. Ask yourself:
- Can I fully charge this overnight from a standard outlet?
- If I rely on solar, will I likely catch up each day with realistic sun?
- Do I need quick top-ups during breaks while working or traveling?
Realistic Use Cases: Matching Features to How You Live
It helps to think in terms of real scenarios instead of abstract specs. Different use cases push different features to the top of your checklist.
Short home power outages
For brief outages, most people care about a few essentials:
- Keeping phones and laptops charged.
- Powering a modem/router for internet.
- Running a small light or fan.
Focus on:
- Moderate capacity (enough for several hours of light use).
- Pure sine wave AC for electronics.
- Simple wall charging with reasonable recharge time.
High-end extras like built-in wireless chargers or complex app controls usually do not change the outcome in this scenario.
Home essentials for longer outages
Longer outages may add needs such as:
- Running a small refrigerator for part of the day.
- Keeping medical or comfort devices running, within the device guidelines.
- Charging multiple family devices.
In this case, capacity and recharge options matter more than convenience features:
- Higher Wh capacity to cover fridge cycles and basics.
- Enough AC running watts for the fridge plus a few small loads.
- Optional solar input to stretch runtime if outages are frequent.
For any critical medical device, review the device manual and talk with the device manufacturer or a qualified professional about backup power options; do not rely only on generic portable power advice.
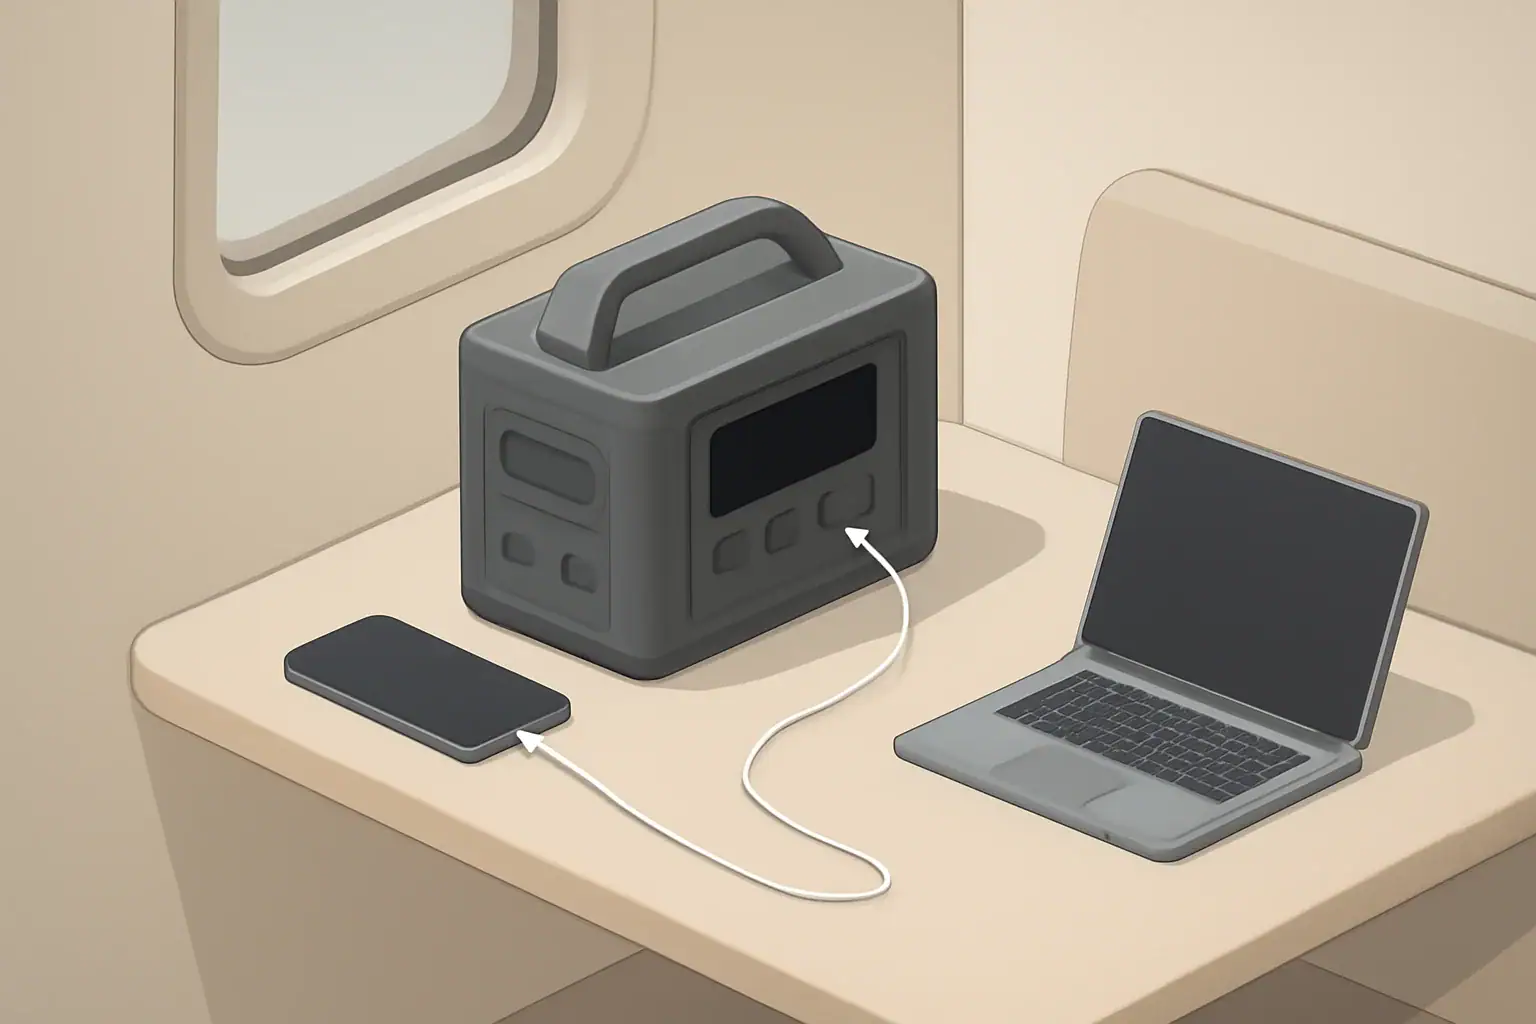
Remote work and mobile offices
If your priority is remote work—laptops, monitors, and networking gear—consider:
- USB-C power delivery ports for direct laptop charging.
- A quiet fan profile if you work in quiet environments.
- Pass-through charging for times when you are plugged into wall power but want backup on hand.
High power for heavy appliances is usually less important than stable, efficient power for electronics.
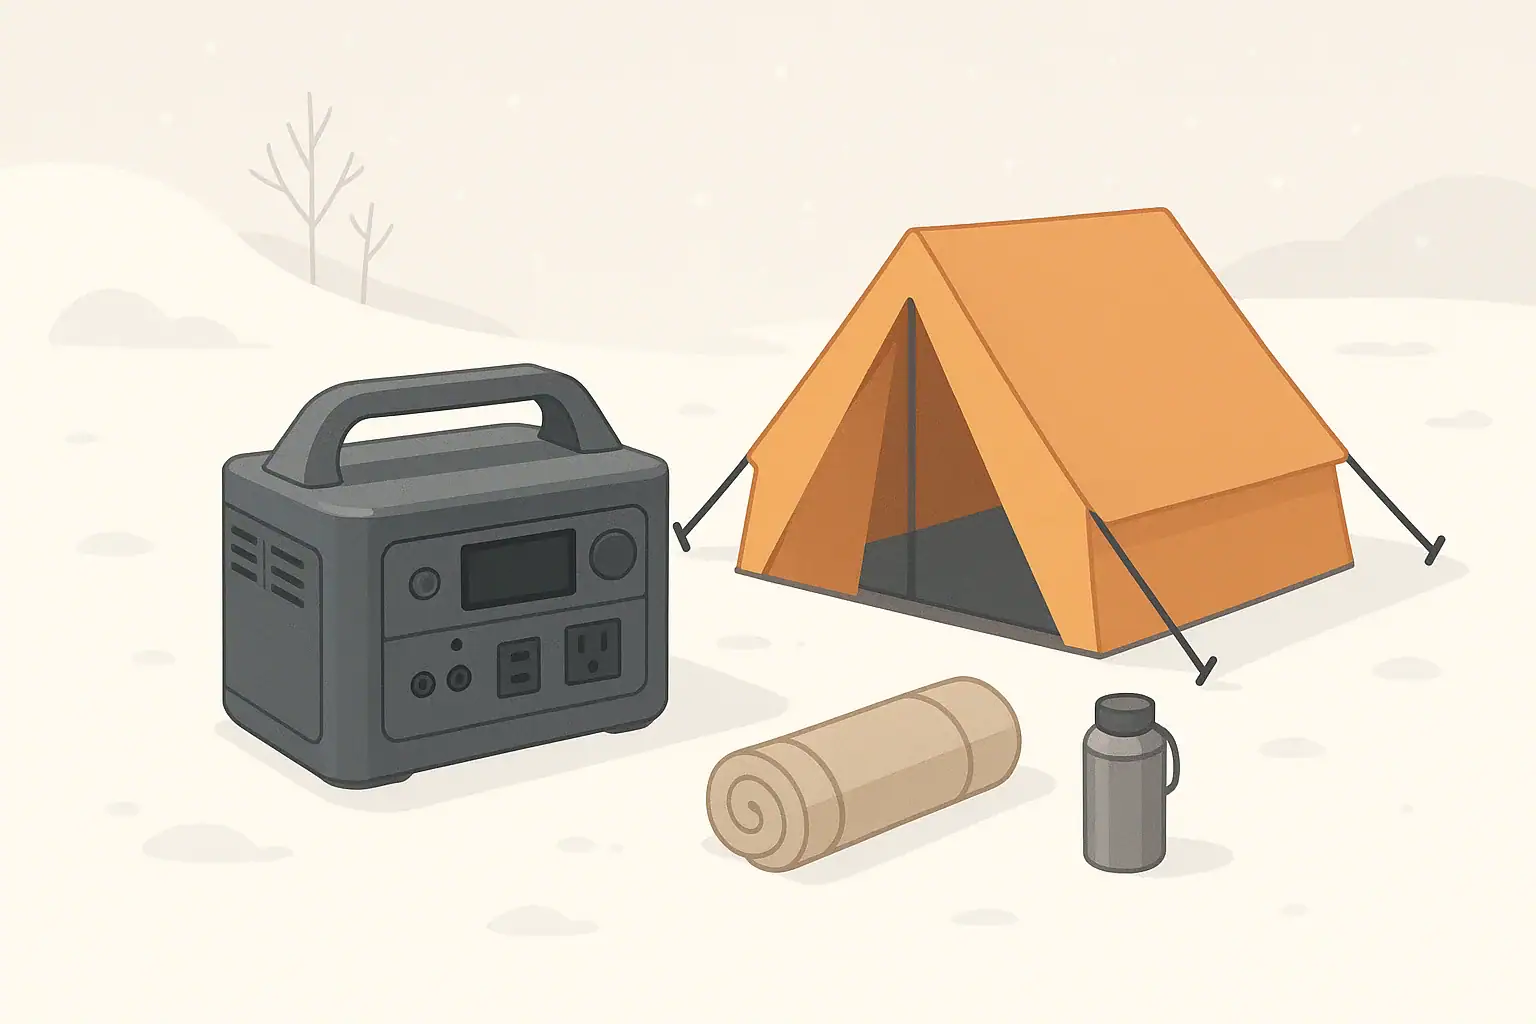
Camping and vanlife
Outdoor use highlights portability and flexible charging:
- Weight and handle design, since you may carry it some distance.
- Car and solar charging options for multi-day trips.
- Low standby power draw so the battery does not drain quickly when idle.
Extra lighting or built-in flashlights can be handy, but they are rarely the reason to choose a specific unit.
Basic RV use
In RVs, a portable power station can supplement existing systems:
- Powering laptops, phones, and small appliances without starting a generator.
- Running fans, lights, or small kitchen devices intermittently.
Any connection to an RV’s electrical system should follow manufacturer recommendations. For more complex setups that tie into onboard wiring, consult a qualified RV technician or electrician. Avoid informal backfeeding or improvised panel connections.
Cold Weather, Storage, and Maintenance Basics
Battery performance changes with temperature and time, so it is worth understanding how storage and conditions affect your power station.
Cold weather considerations
Most portable power stations use lithium-based batteries, which do not like extreme cold or heat. In cold weather:
- Available capacity can appear lower at low temperatures.
- Charging at very low temperatures can be restricted or slowed by built-in protections.
- Displays may respond more slowly when cold.
When possible, keep the unit within the temperature range recommended in its manual. For winter use, many people store the power station indoors and bring it out only when needed, instead of leaving it in a freezing vehicle for long periods.
Storage and self-discharge
All batteries slowly lose charge over time, even when not in use. To store a portable power station in good condition:
- Avoid long-term storage completely full or completely empty.
- Many manufacturers suggest storing around a partial charge level; check your manual for guidance.
- Top up the battery every few months to offset self-discharge.
Do not open the unit or attempt to modify the battery pack. Internal components are designed and tested as a system; opening the case can damage safety features and void warranties.
Basic maintenance
Maintenance is mostly simple habits:
- Keep vents clear and free of dust.
- Use cords in good condition without damage or exposed conductors.
- Store the unit in a dry place away from direct heat sources.
- Periodically test the unit before storm seasons or trips so you know it still works as expected.
Example values for illustration.
| Device type | Example watt range | Planning notes |
|---|---|---|
| Smartphone | 5–15 W | Low draw; many charges possible even from a small power station |
| Laptop | 40–90 W | Plan for several hours of use per 300–500 Wh of capacity |
| Wi-Fi router | 10–25 W | Often a priority during outages; low but continuous draw |
| LED light | 5–20 W | Efficient; multiple lights have modest impact on runtime |
| Small fan | 20–60 W | Good for comfort; consider intermittent use to save power |
| Compact fridge | 50–150 W running | Needs extra headroom for startup surge; runs in cycles, not constantly |
| Small power tool | 300–800 W while in use | Check surge capability; usage is typically short bursts |
Safety and Features That Matter Less Than You Think
Safety should stay at the top of your checklist, while many cosmetic or convenience extras can be a lower priority.
Practical safety guidelines
- Place the power station on a stable, dry surface with ventilation openings unobstructed.
- Avoid covering the unit with blankets, clothing, or other materials while in use.
- Use extension cords rated for the loads you intend to run and avoid daisy-chaining power strips.
- Keep the unit away from flammable materials and out of standing water.
- If a cord, plug, or outlet becomes hot, disconnect and inspect before further use.
If you want backup power for hardwired home circuits (for example, whole rooms or large appliances), talk with a licensed electrician about proper transfer equipment and safe options. Avoid any do-it-yourself methods that backfeed power into household wiring through improvised connections.
Features that often matter less
Many shoppers get distracted by extras that may not add much real value for their situation, such as:
- Elaborate built-in lights when a basic flashlight would work.
- Color screens and decorative lighting effects.
- Complicated apps and smart functions that you may rarely open.
- Minor styling differences that do not affect performance or durability.
These might still be pleasant to have, but they should not outweigh core needs like sufficient capacity, reliable outputs, and safe operation. Treat them as tie-breakers only after the essentials on your checklist are met.
Keeping your checklist simple
To recap the buying mindset:
- Start with what you need to power and for how long.
- Match capacity and running watts to those needs with some margin.
- Check that the outputs, charging options, and weight fit how you will actually use the unit.
- Confirm basic safety features and follow the manual for safe operation.
This approach keeps the focus on function over flash, so the portable power station you choose does its main job well when you really need it.
Frequently asked questions
How do I calculate the battery capacity (Wh) I need for my devices?
Estimate each device’s power draw in watts and multiply by how many hours you expect to run it to get watt-hours, then add those figures together. Include a margin (commonly 10–20%) to cover inverter and conversion losses and unexpected extra use; that total is the minimum Wh capacity to target.
Can a portable power station run a refrigerator, and how should I size it?
Yes, many power stations can run a compact refrigerator, but you must check both the fridge’s running watts and its startup surge requirement. Choose a station with running-watt capacity above the fridge’s steady draw and enough surge capability for startup, plus sufficient Wh to cover several compressor cycles during the period you need it.
Is pass-through charging safe to use regularly?
Pass-through charging is convenient but can produce extra heat and may stress components over time, which could reduce battery longevity if used constantly. Use it occasionally for convenience, and follow the manufacturer’s recommendations; avoid heavy continuous loads during pass-through unless the manual explicitly supports it.
How many solar watts do I need to recharge my power station in a day?
Estimate daily energy needs in Wh, then divide by realistic usable sun hours for your location to get required panel watts. As an example from typical assumptions, a 200 W panel might produce roughly 600–800 Wh in 4–5 strong sun hours, so plan with conservative sun-hour estimates and account for system losses.
What storage and maintenance steps extend a power station’s life?
Store the unit at a partial charge (not full or empty), top it up every few months to offset self-discharge, and keep it in a dry place within the recommended temperature range. Also keep vents clear of dust, use undamaged cords, and periodically test the unit before trips or storm seasons.
Recommended next:
- Portable Power Station Buying Guide
- Common Mistakes When Buying a Portable Power Station
- Portable Power Station Terminology Explained
- Portable Power Station Basics: Outputs, Inputs, and What the Numbers Mean
- Choosing the Right Size for Apartment Backup: Practical Examples
- First-Time Setup: What to Do on Day One for Better Battery Health
- More in Beginners →